The Homeowners Guide to Creating an Energy Efficient or Passive Home
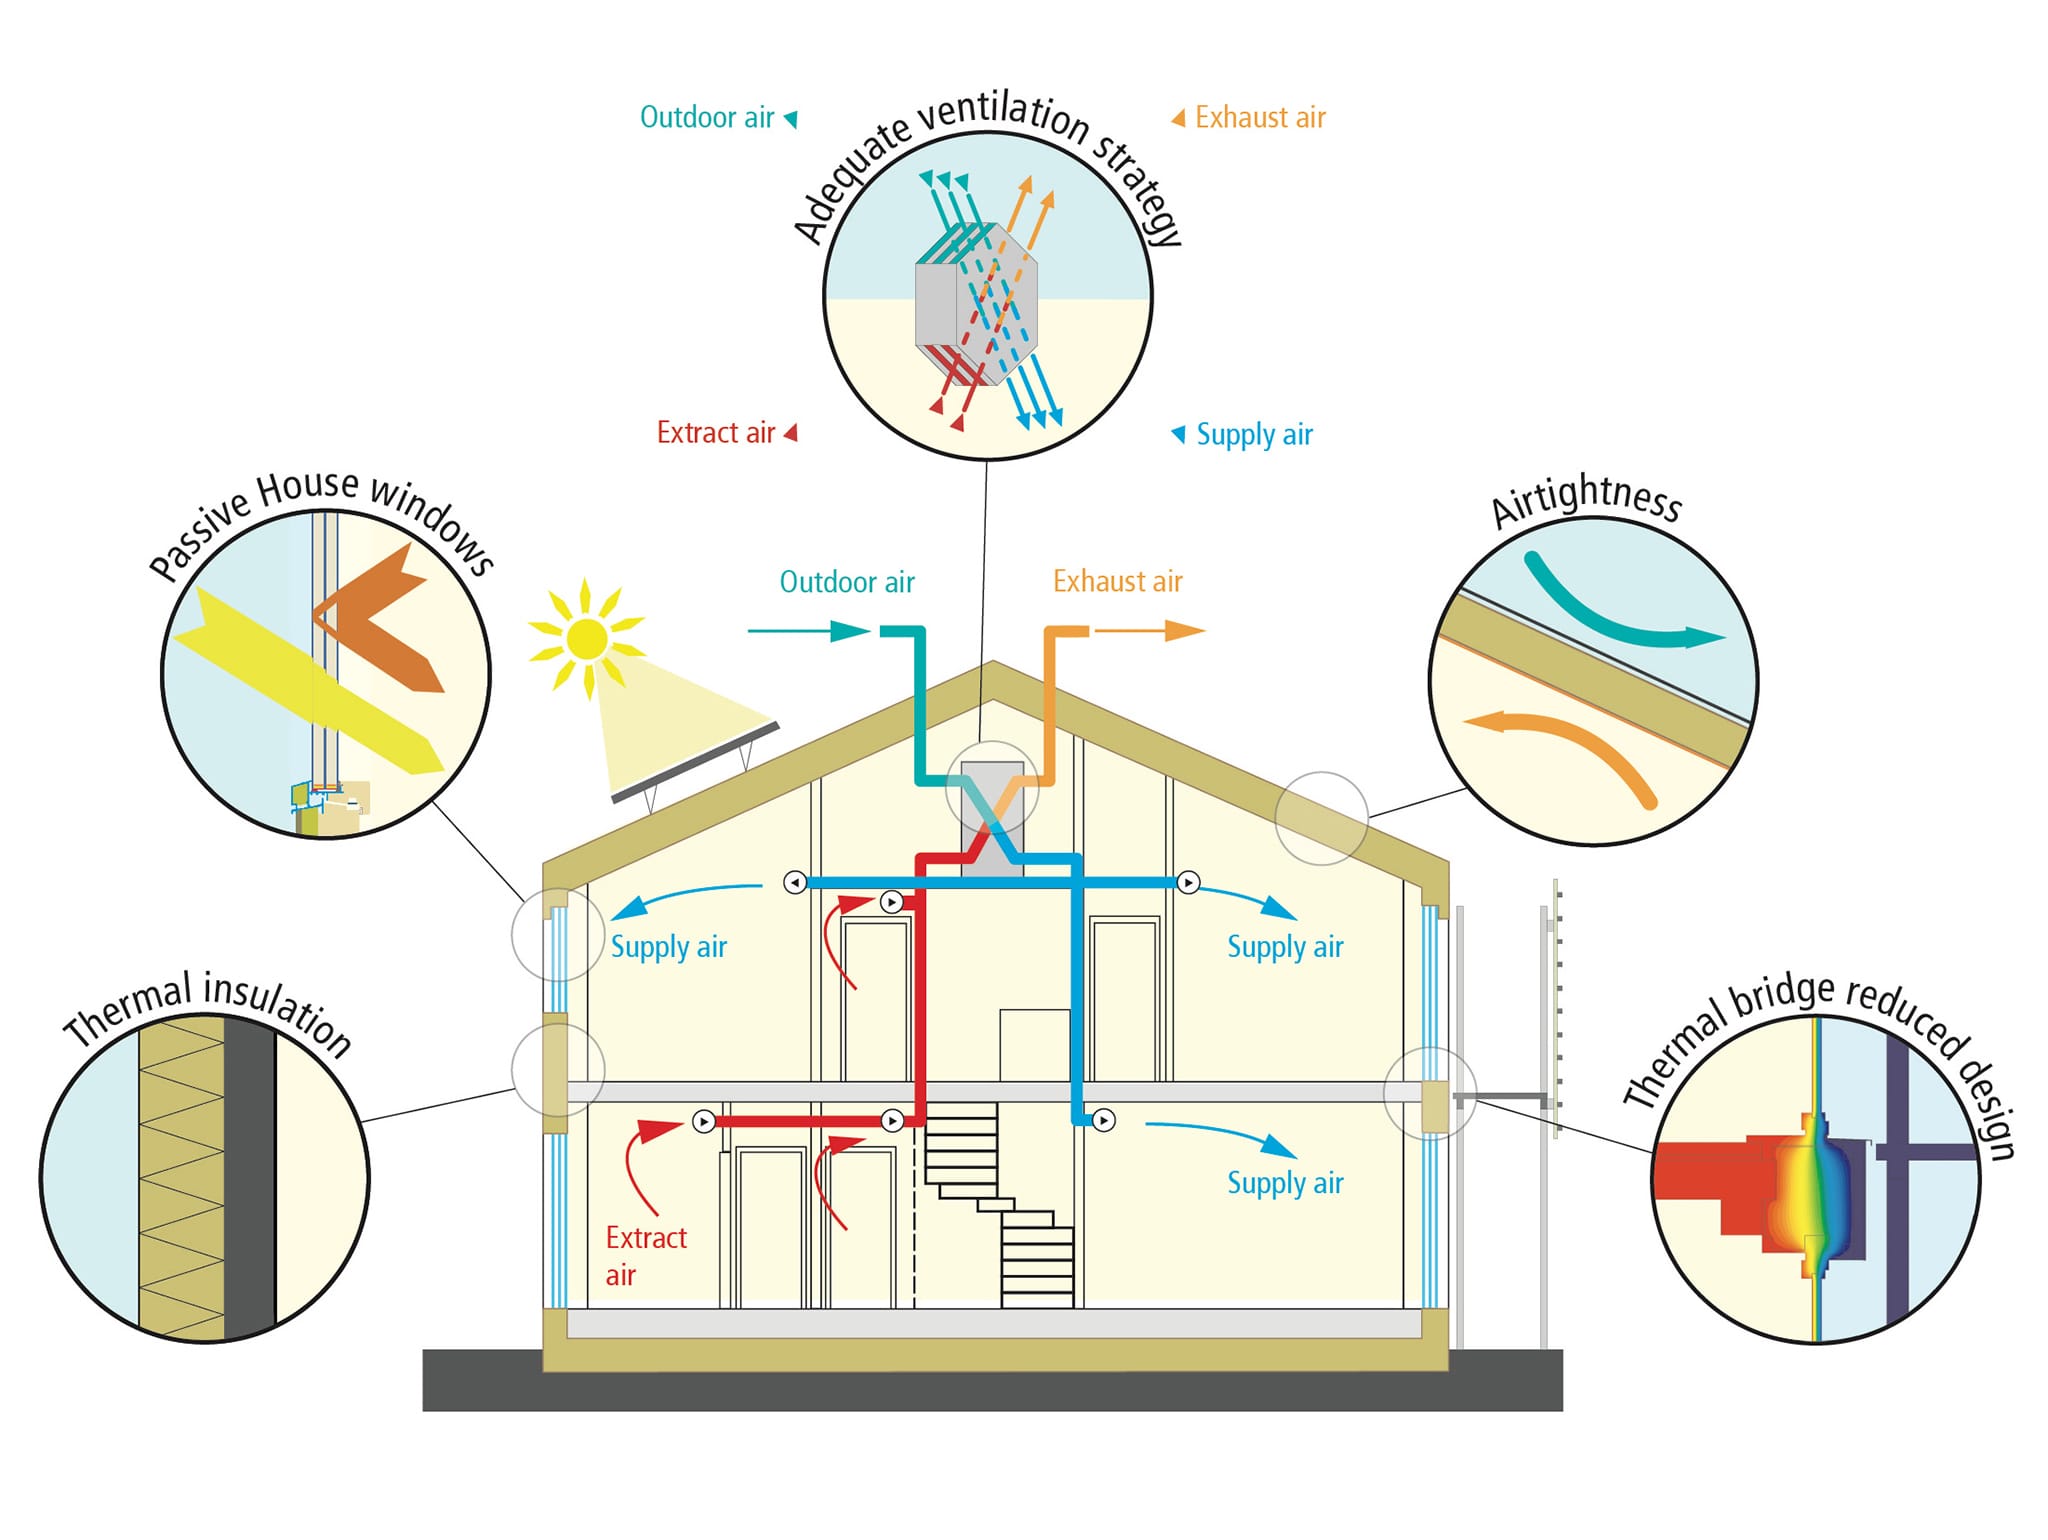
Image sourced from International Passive House Institute
Passive House & High Performance Builds
All levels of our high performance home incorporate the same key design principles originating from passivhaus.
Whilst these principles are mandatory in certified passive homes, successful integration into any design is highly effective with the right knowledge and experience, achieving a superior level of performance and energy efficiency.
Whatever level you choose to build for your family, it is these key principles that are integral to a truly healthy, comfortable, and energy efficient home.
Energy modelling will provide tangible performance data for any homeowner seeking reassurance.
Passive House Principles Explained!
Video explaining how a passive house works
A virtual tour of a passive home.
Passive House Principles In Action
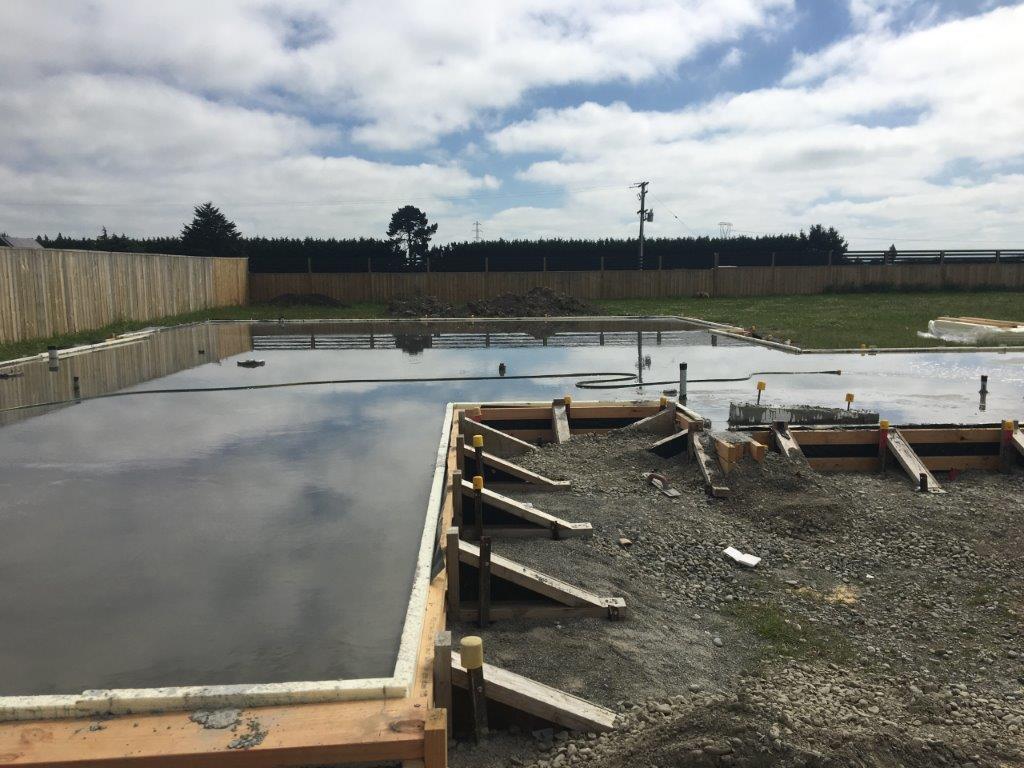
01 – EPS Floor Insulation and XPS Edge Insulation create an insulating envelope.
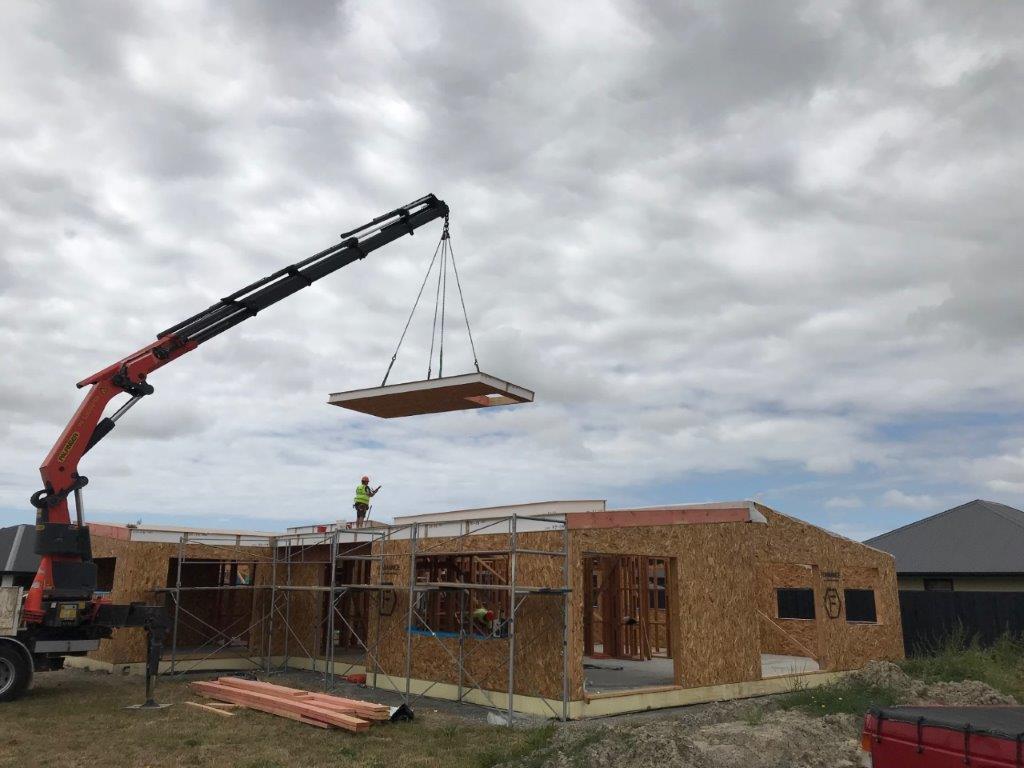
02 – SIPs roof and wall panels, together with the floor insulation, creates a continuous insulating layer (envelope) around the home.
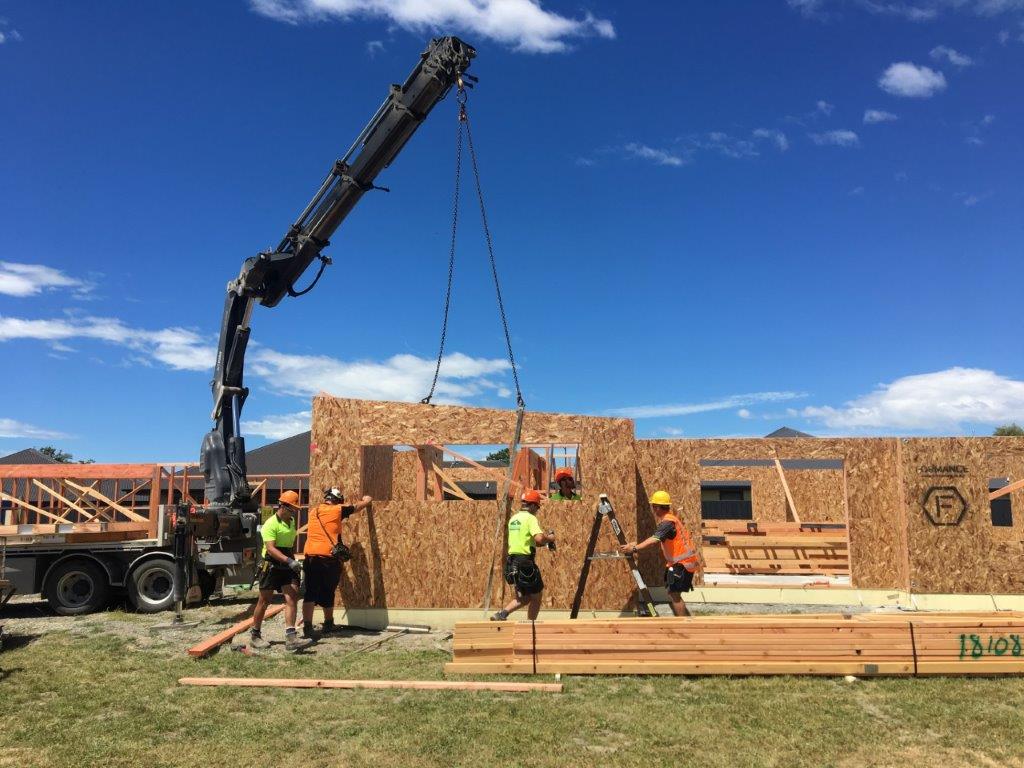
03 – SIPs insulation won’t fall or sag over time resulting in a stable insulating layer.
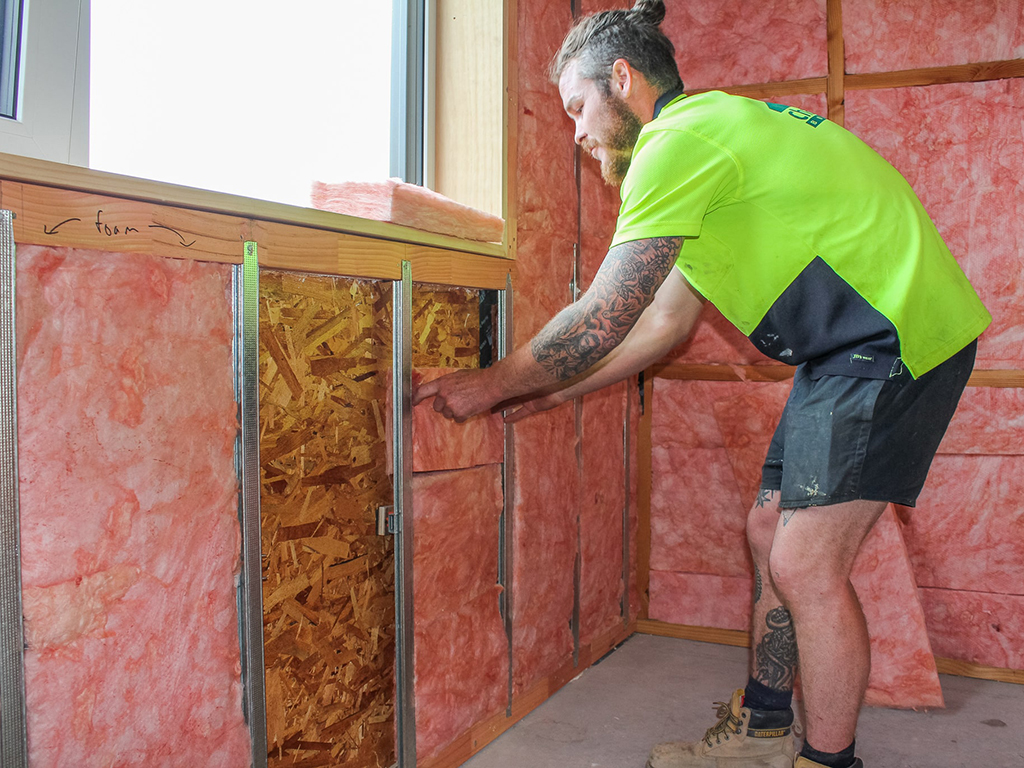
04 – An (optional) additional layer of Batts was installed for the service cavities (both roof and walls). This increases the R- Rating further.
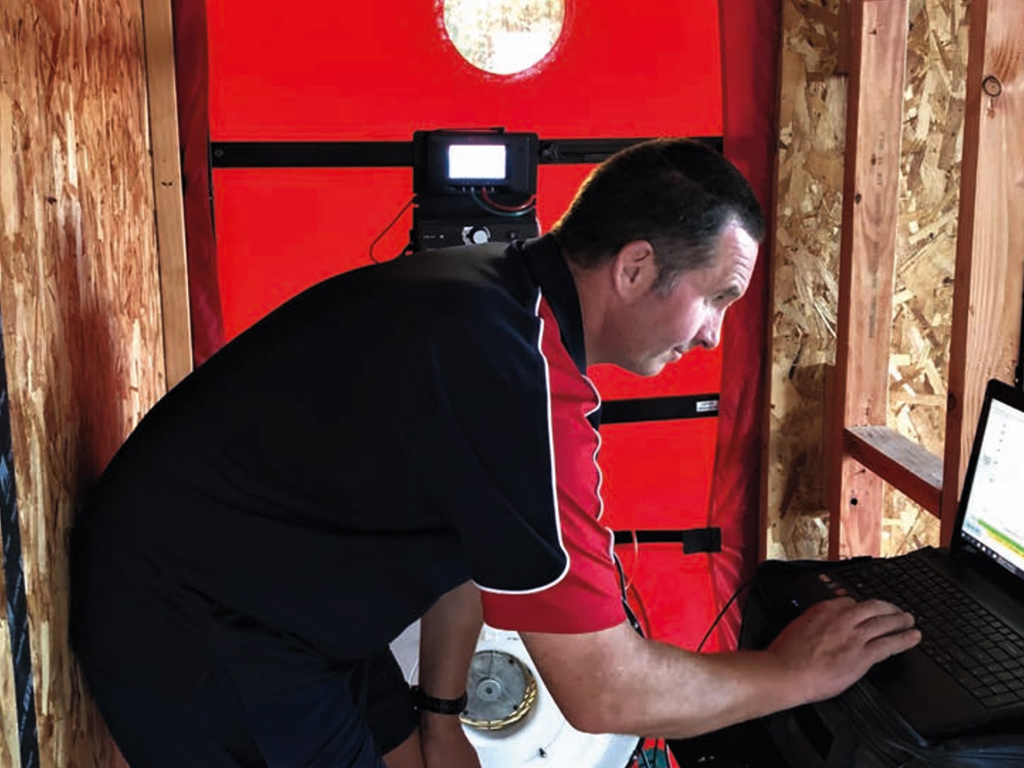
01 – Airtightness – Blower Door Test to check levels are acceptable, and identify leaks whilst they can still be remedied.
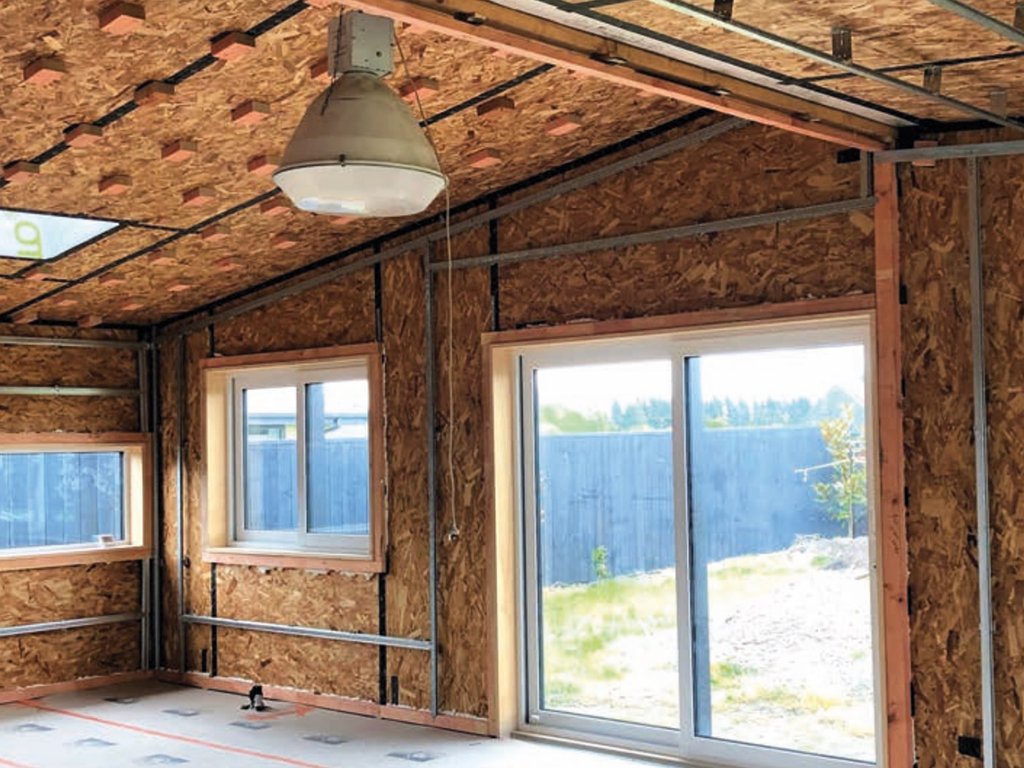
02 – The SIPs panels themselves increase the airtightness of the build due to the continuous polystyrene core within each panel. Taping of the joints addresses those air tightness breaches
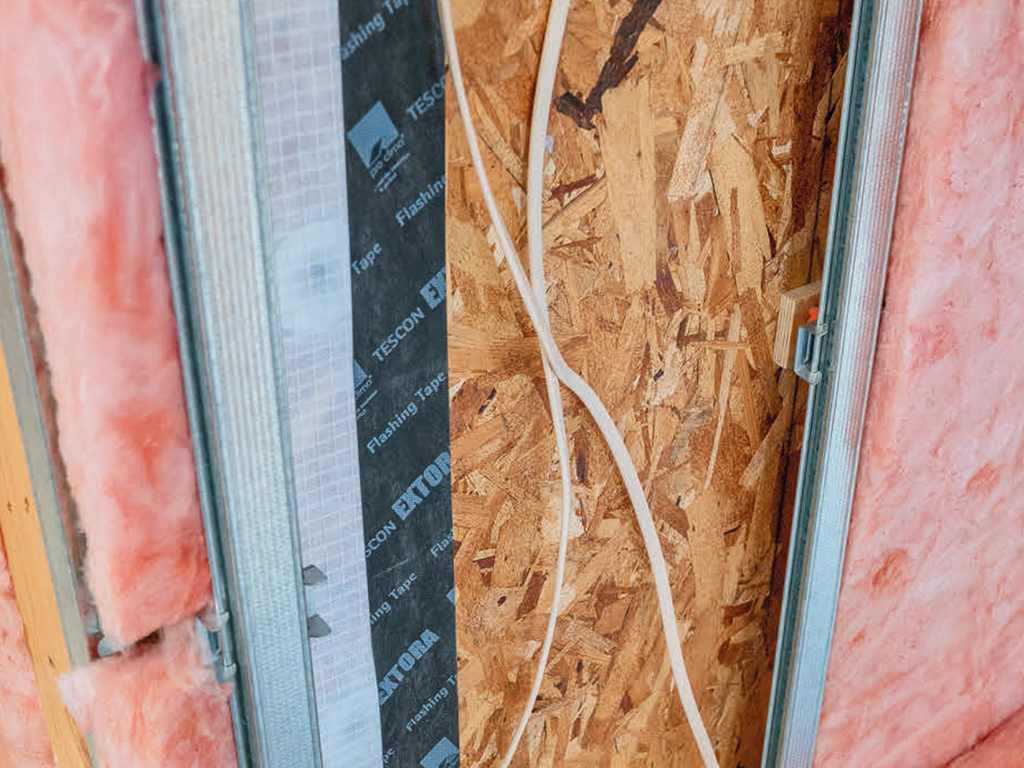
03 – Taping potential areas of draughts and thermal bridging such as corners with specialist tape.
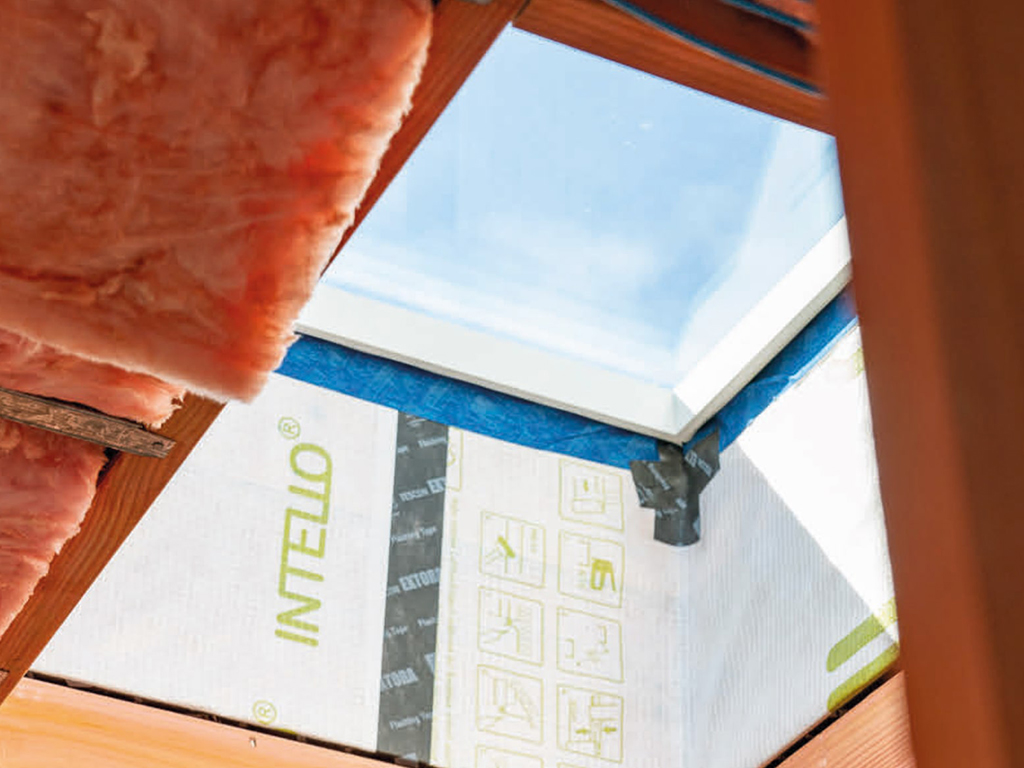
04 – Intello Wrap used where necessary, i.e. where multiple joints and timber framing are located.
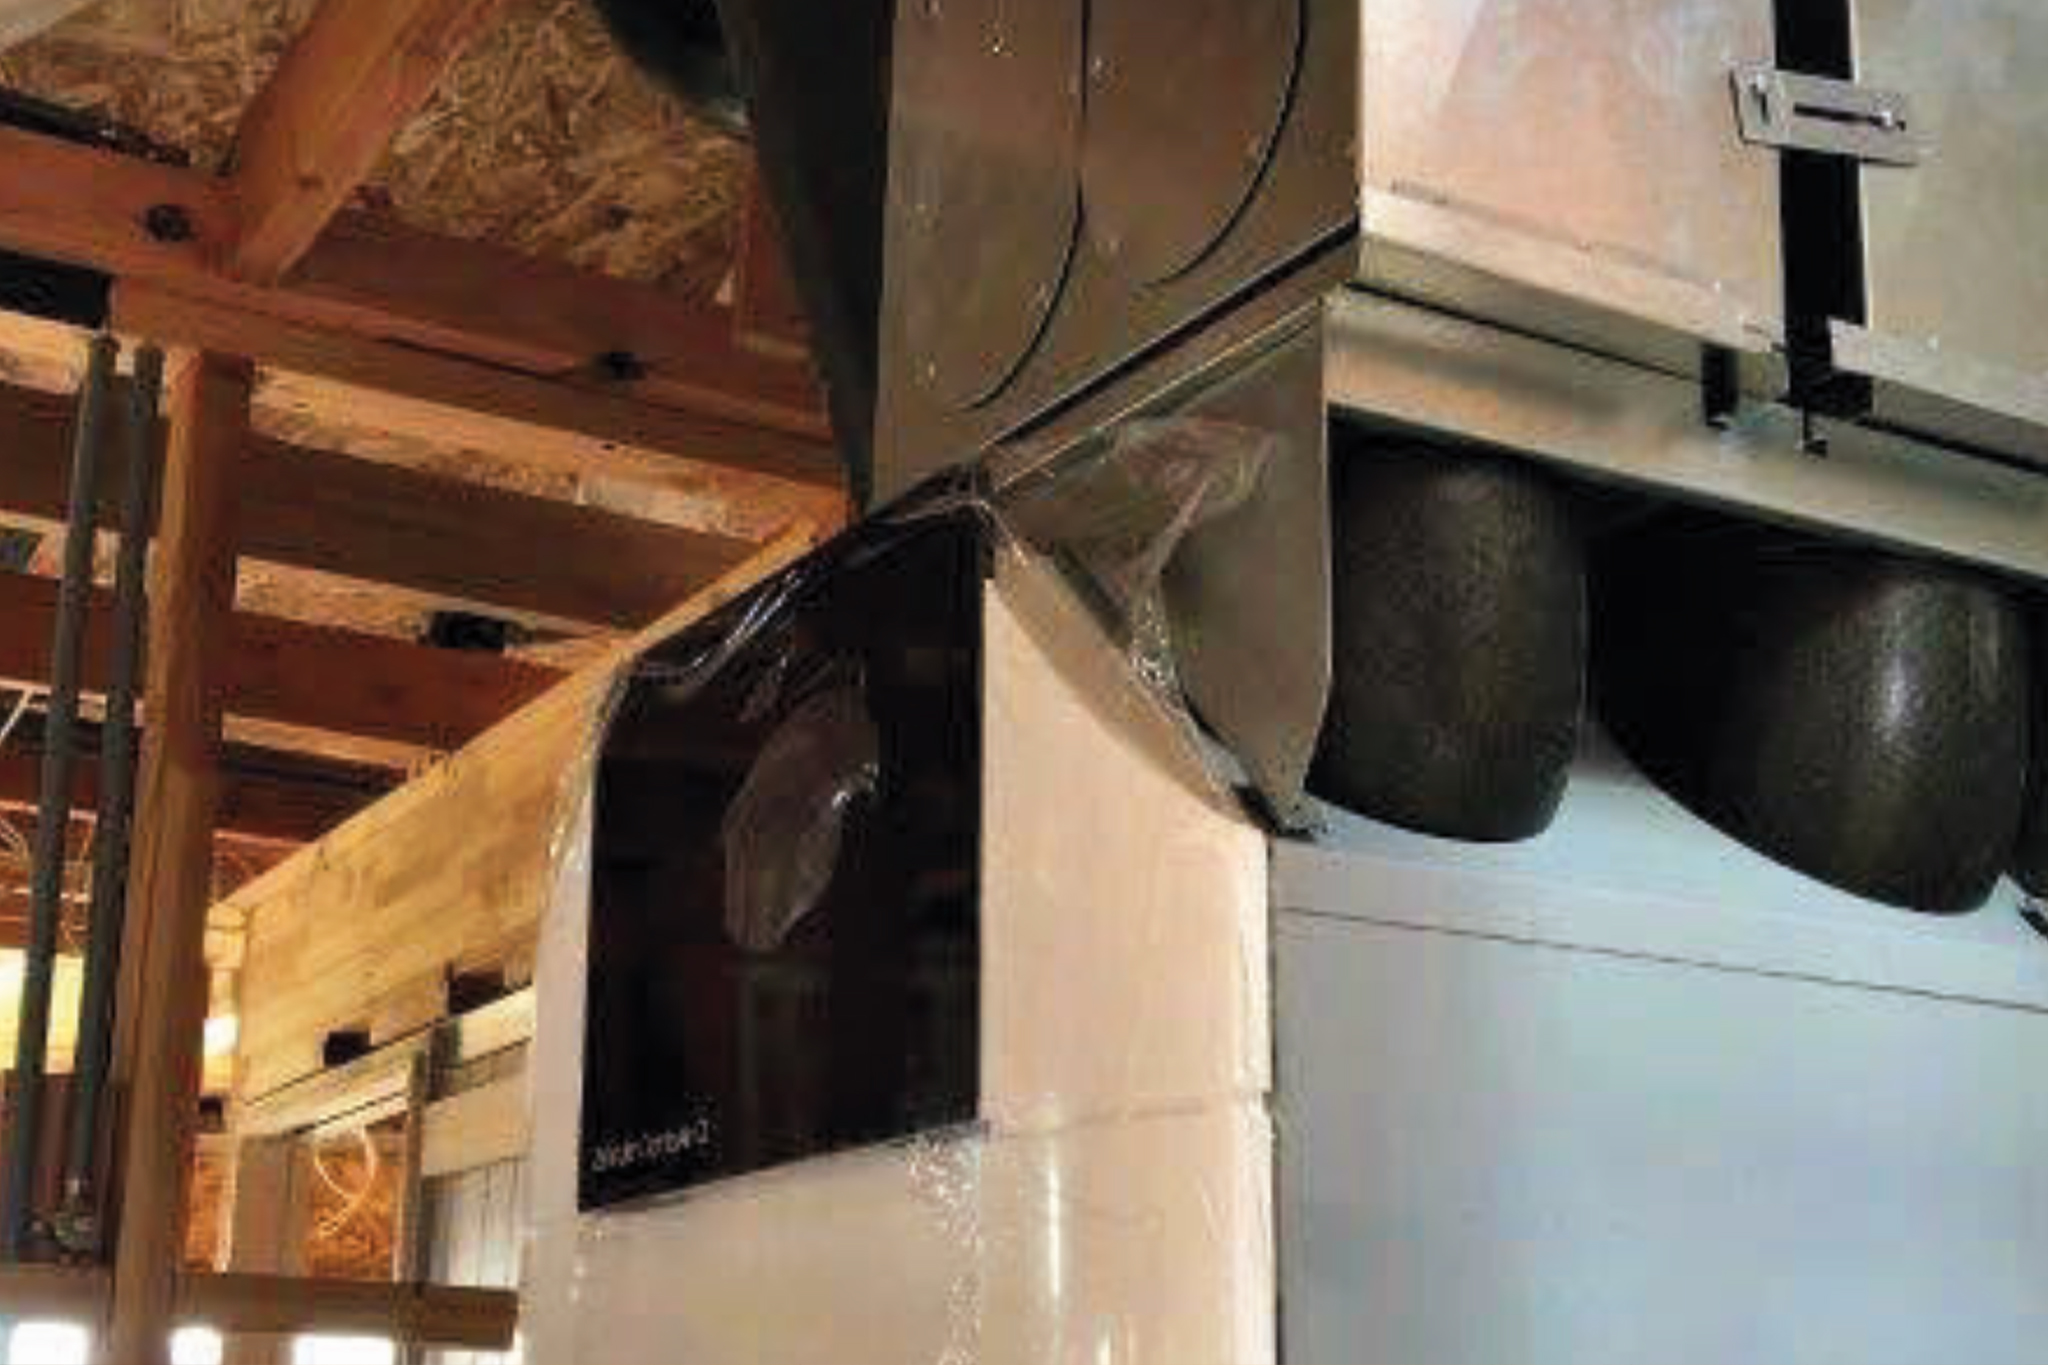
01 – A Centralised Unit – The heat exchanger sits inside where the heat from the exhaust air is transferred across a thin metal plate to the fresh filtered intake air.
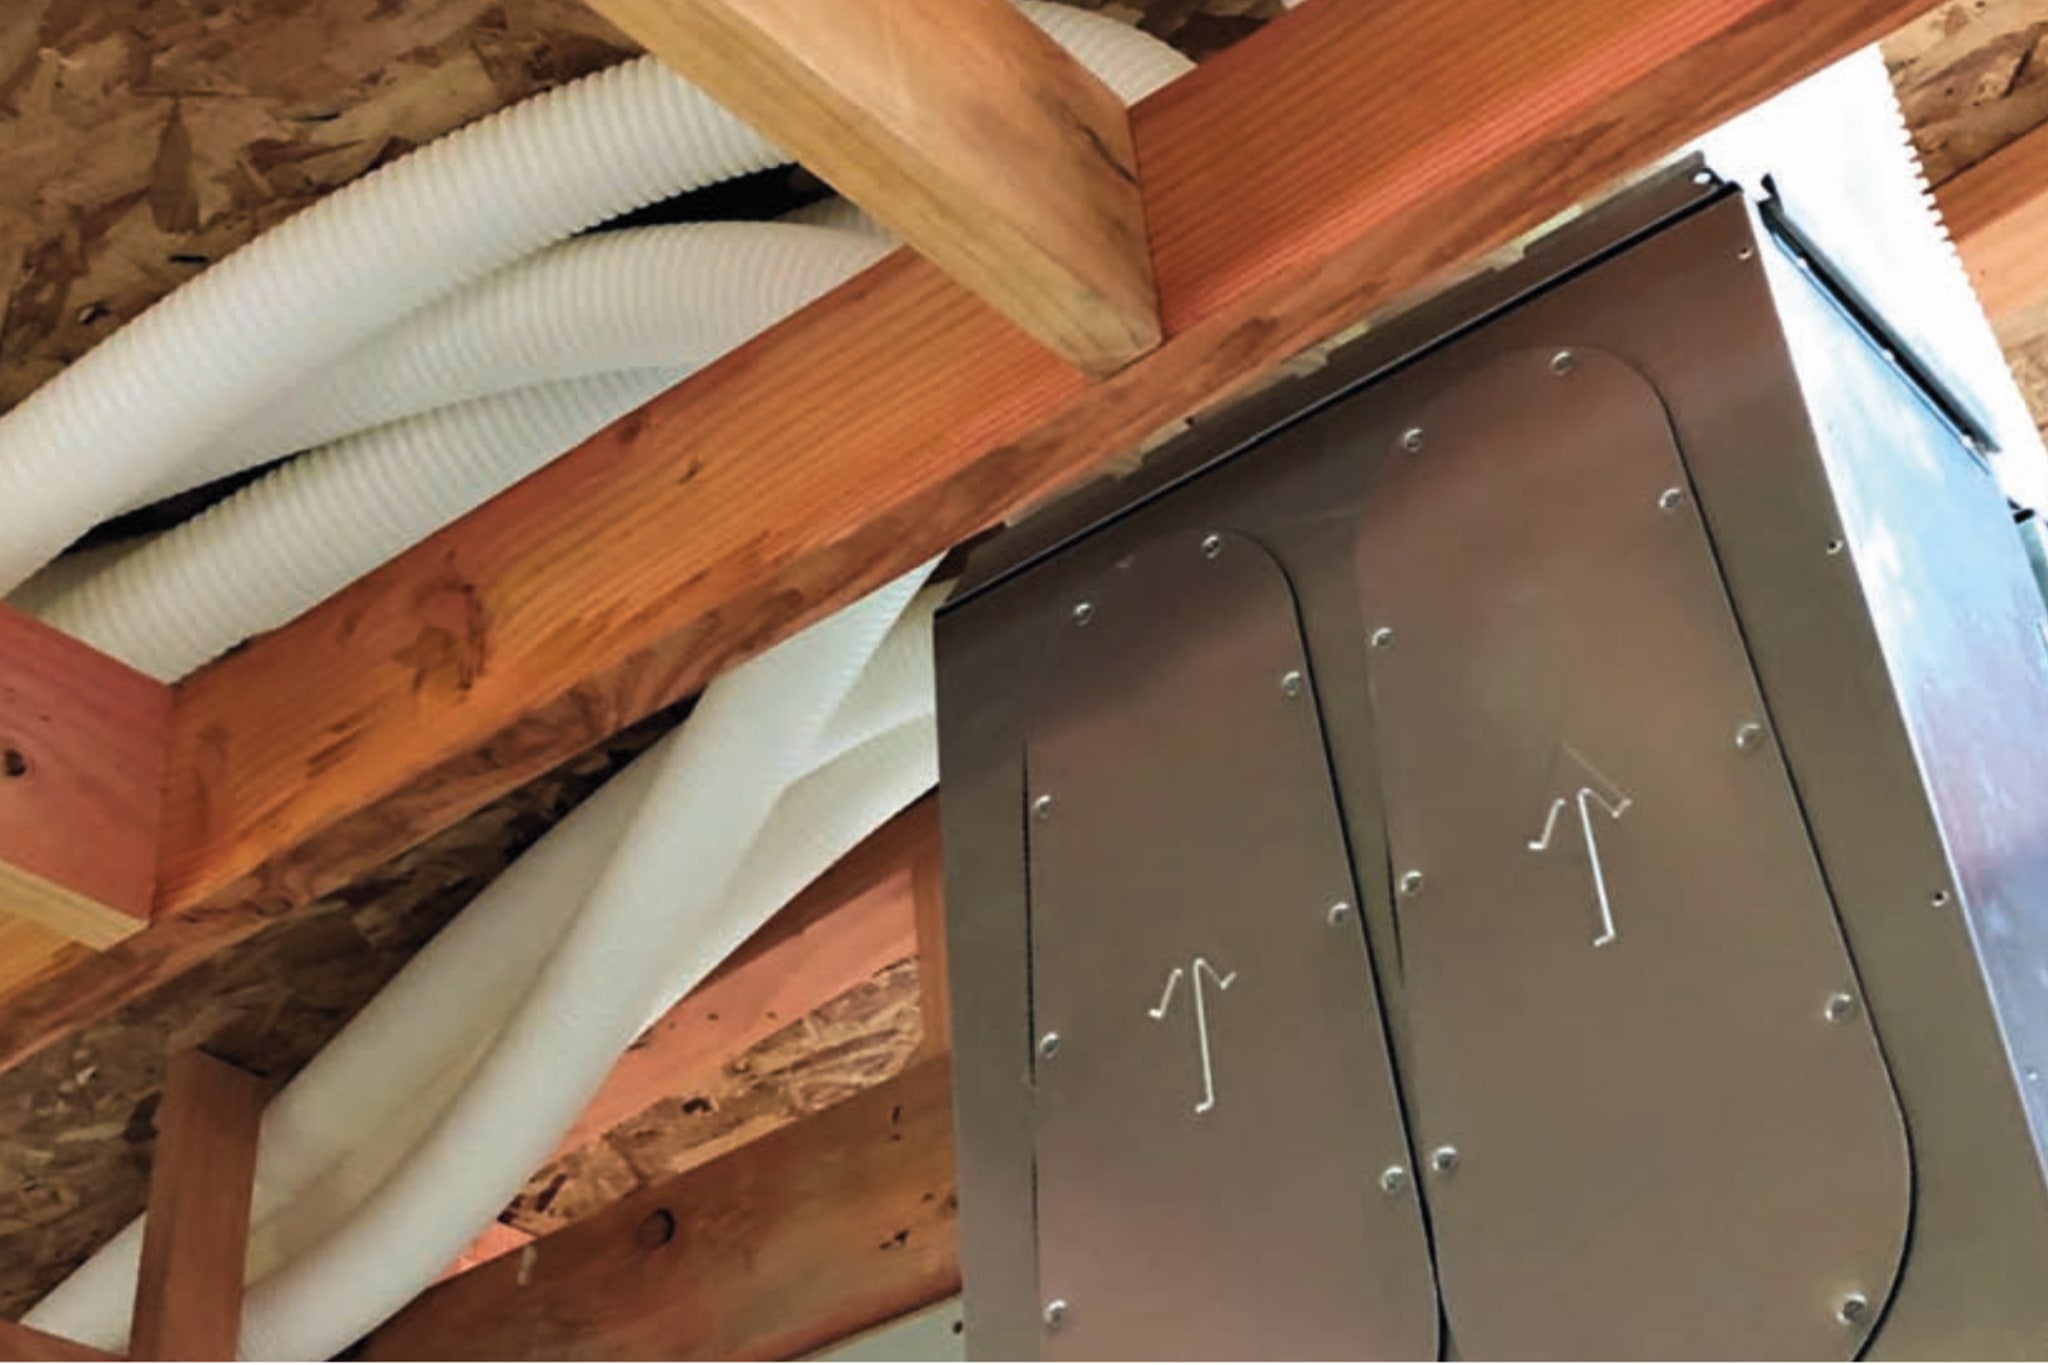
02 – The maze of intake & extraction ducting entering and leaving the central unit. All ducting is tagged to ensure correct installation.
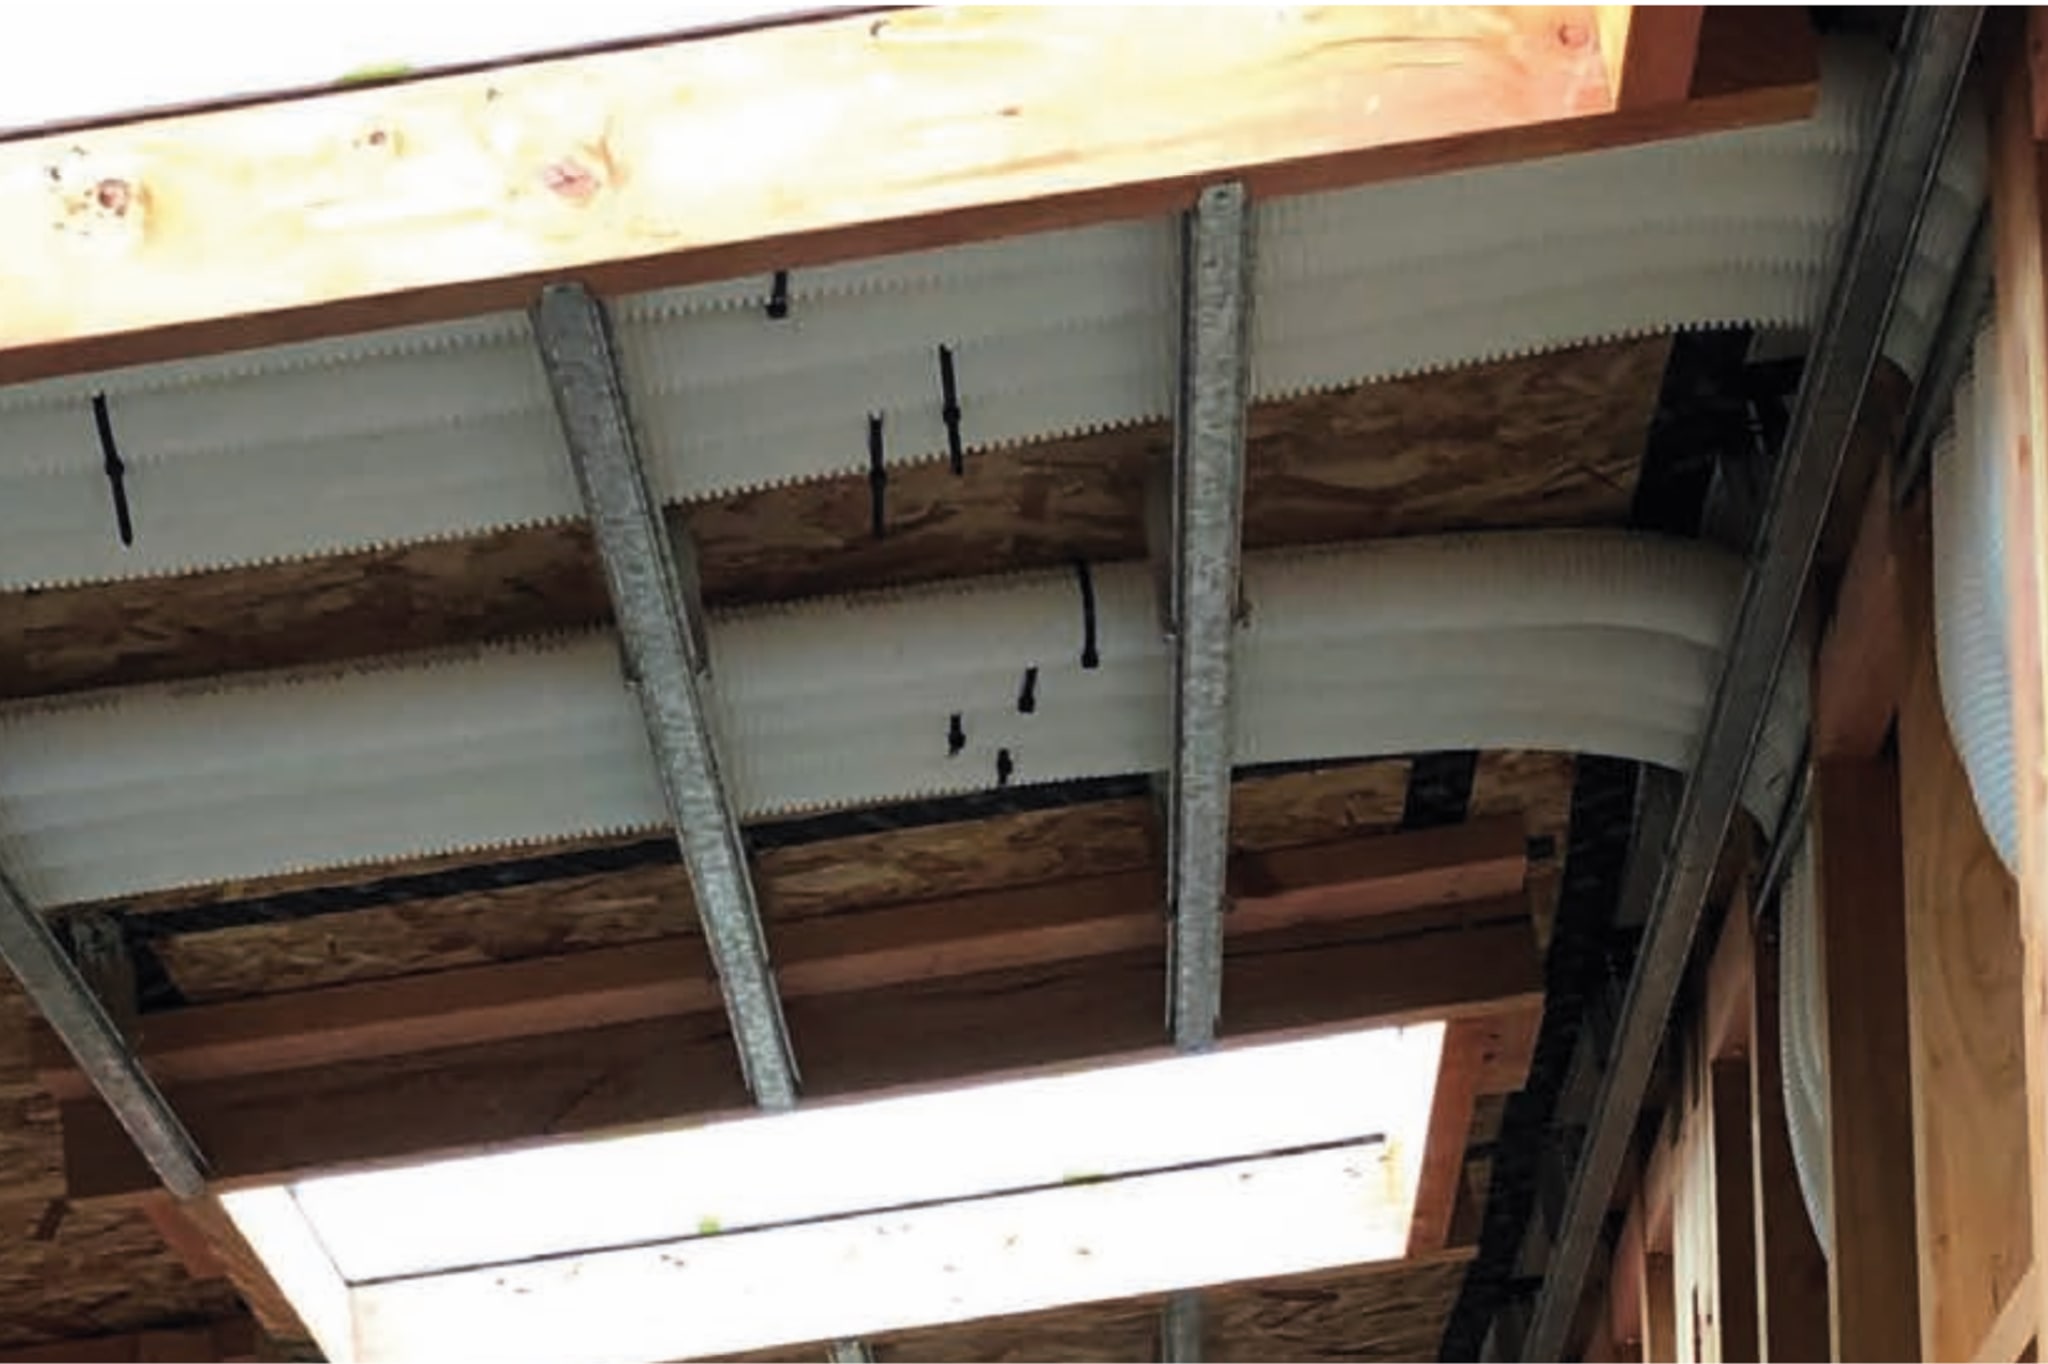
03 – The ducting is flexible enough to be installed around corners and through the 100mm ceiling service cavity.
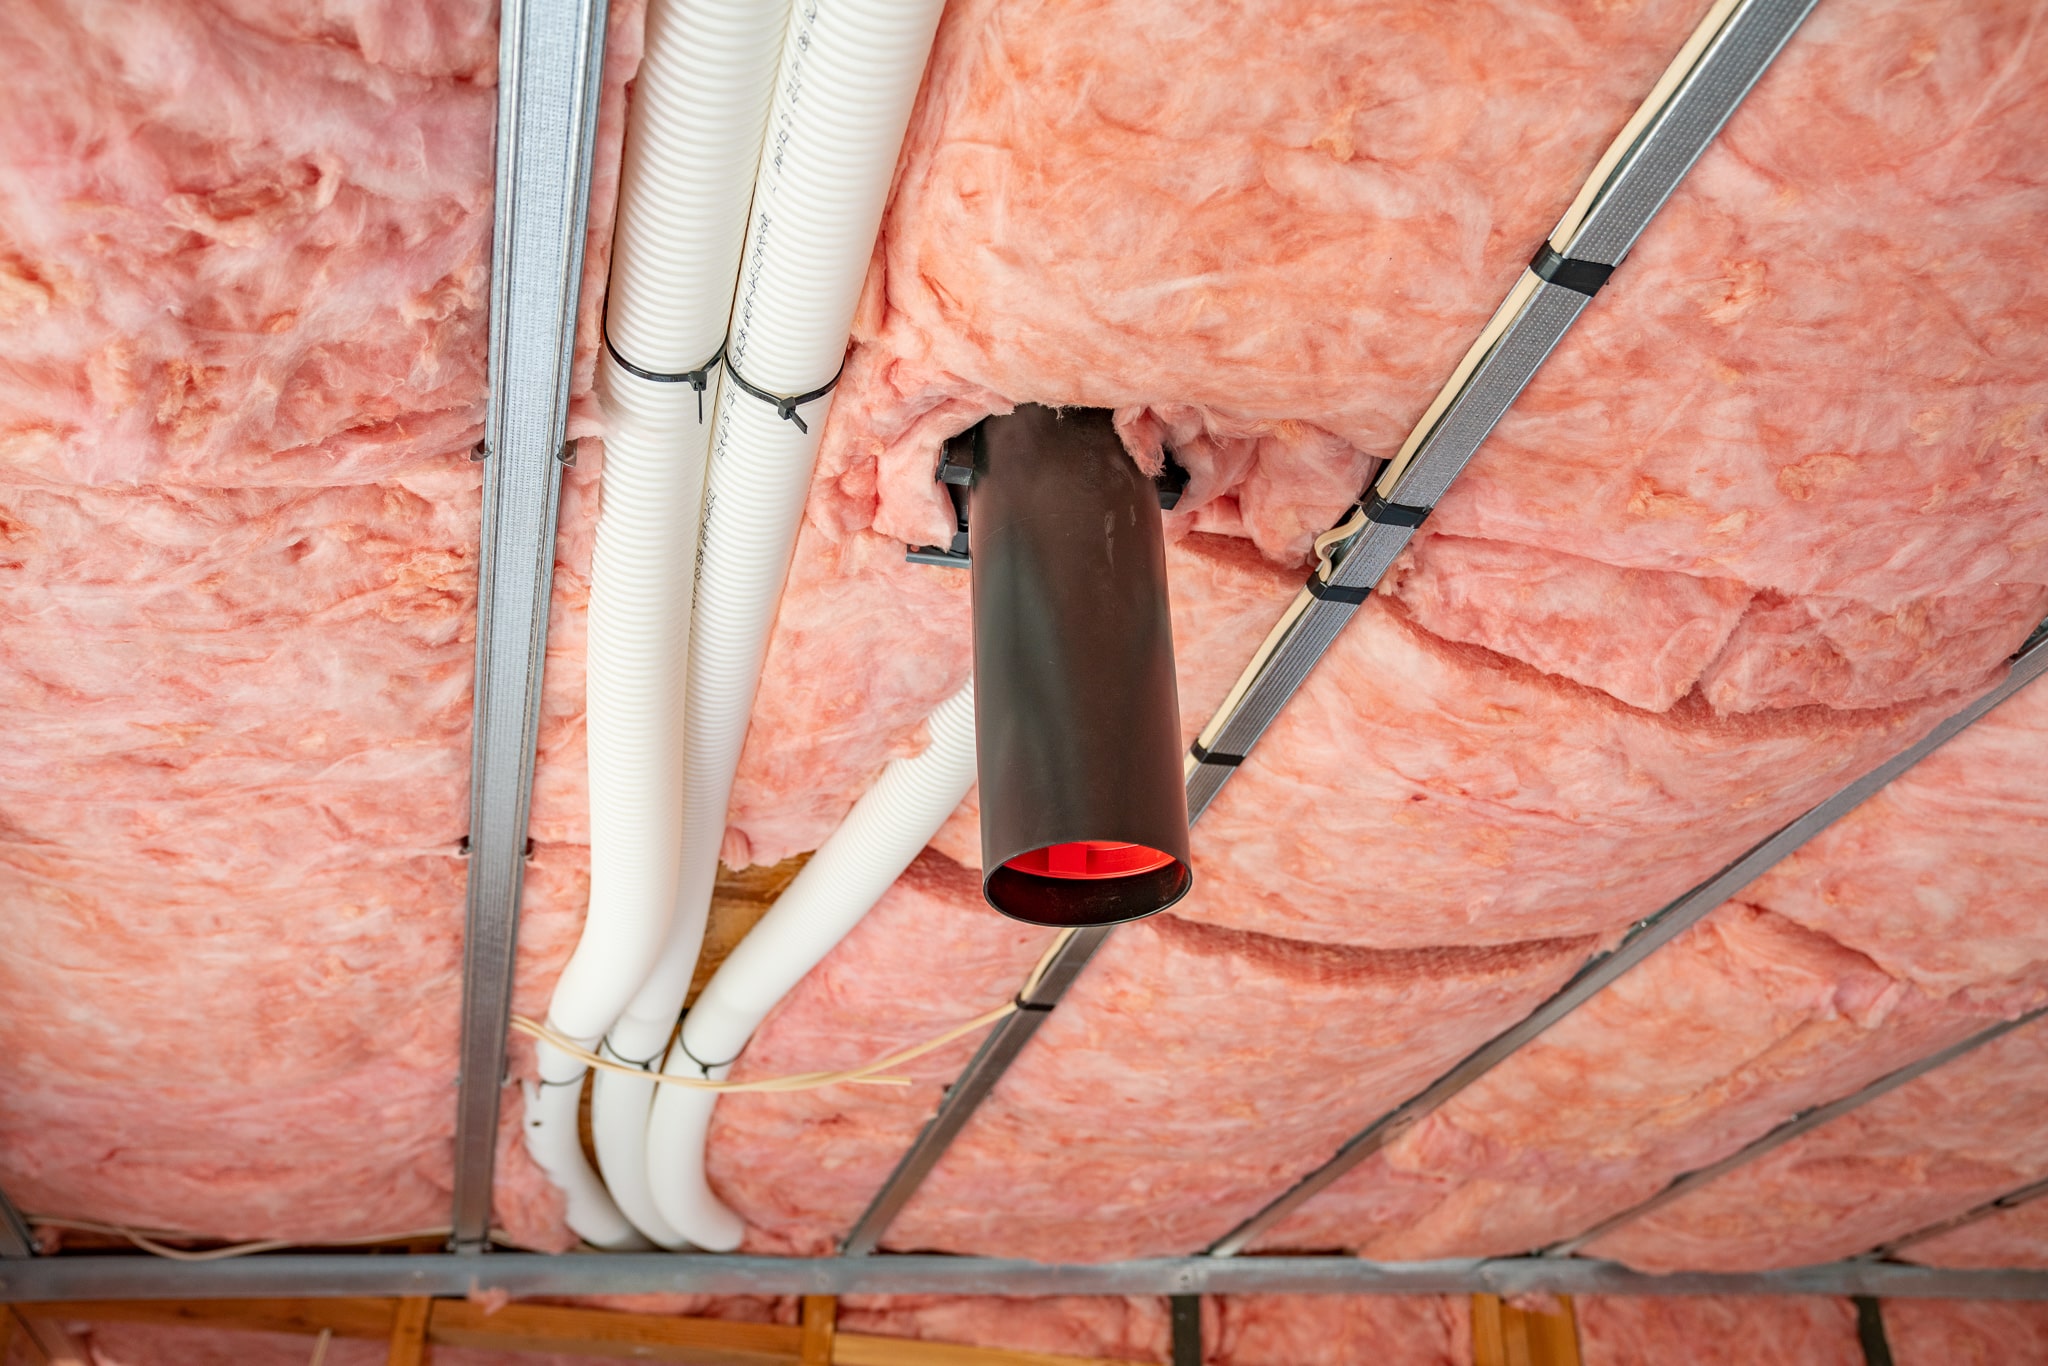
04 – An intake vent in the living area. Extraction vents are in the kitchen & bathrooms. Once the ceiling is painted a discreet white vent cover will replace the black tube.
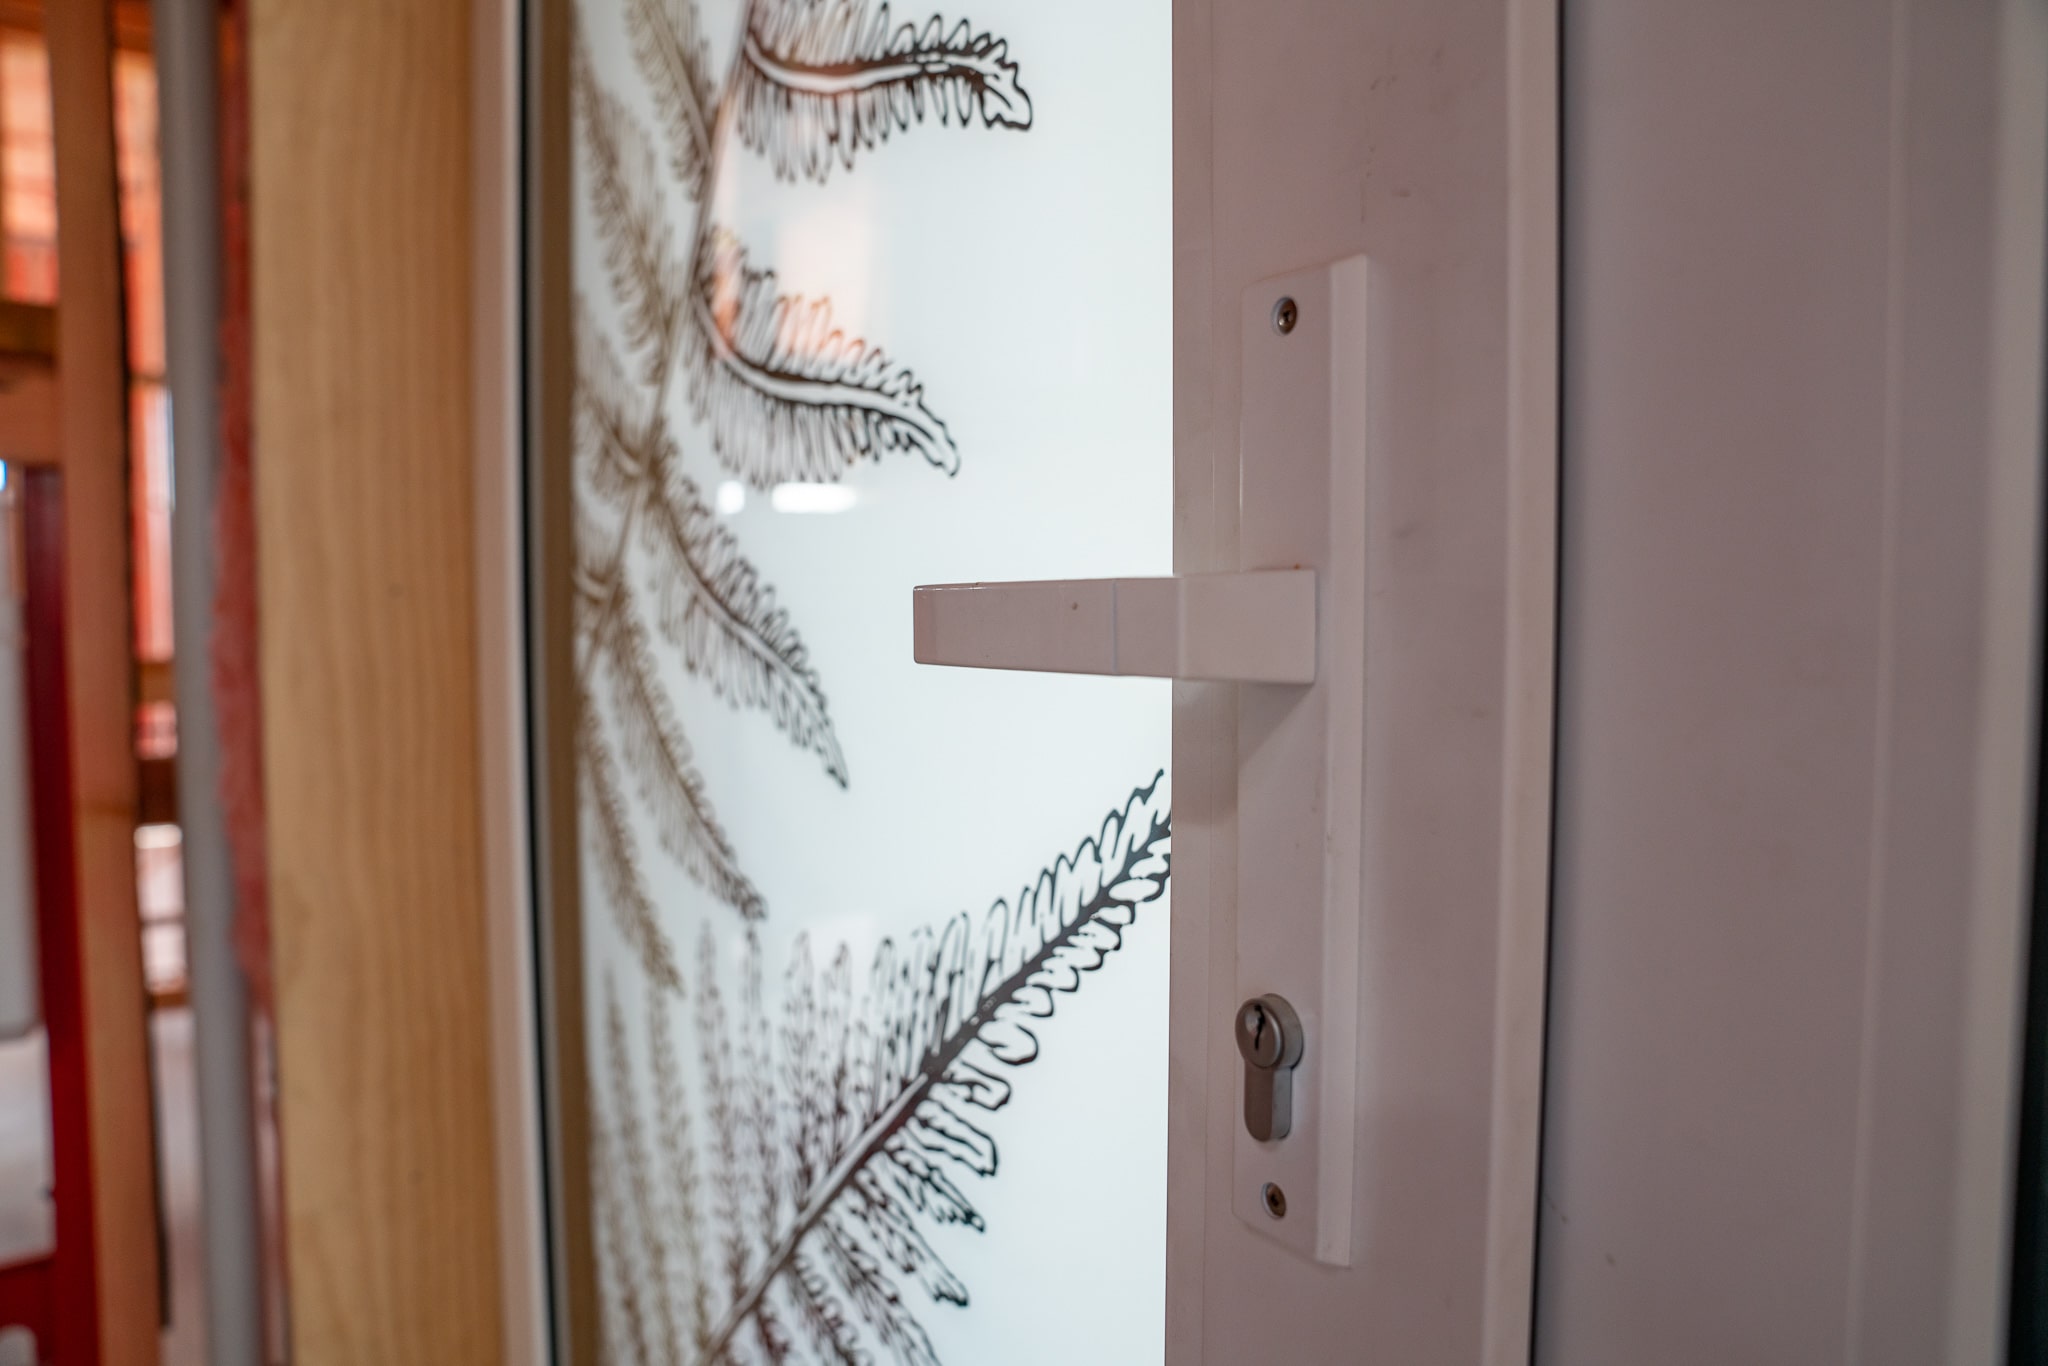
01 – High performance windows provide better airtightness and insulation, and minimise thermal bridging
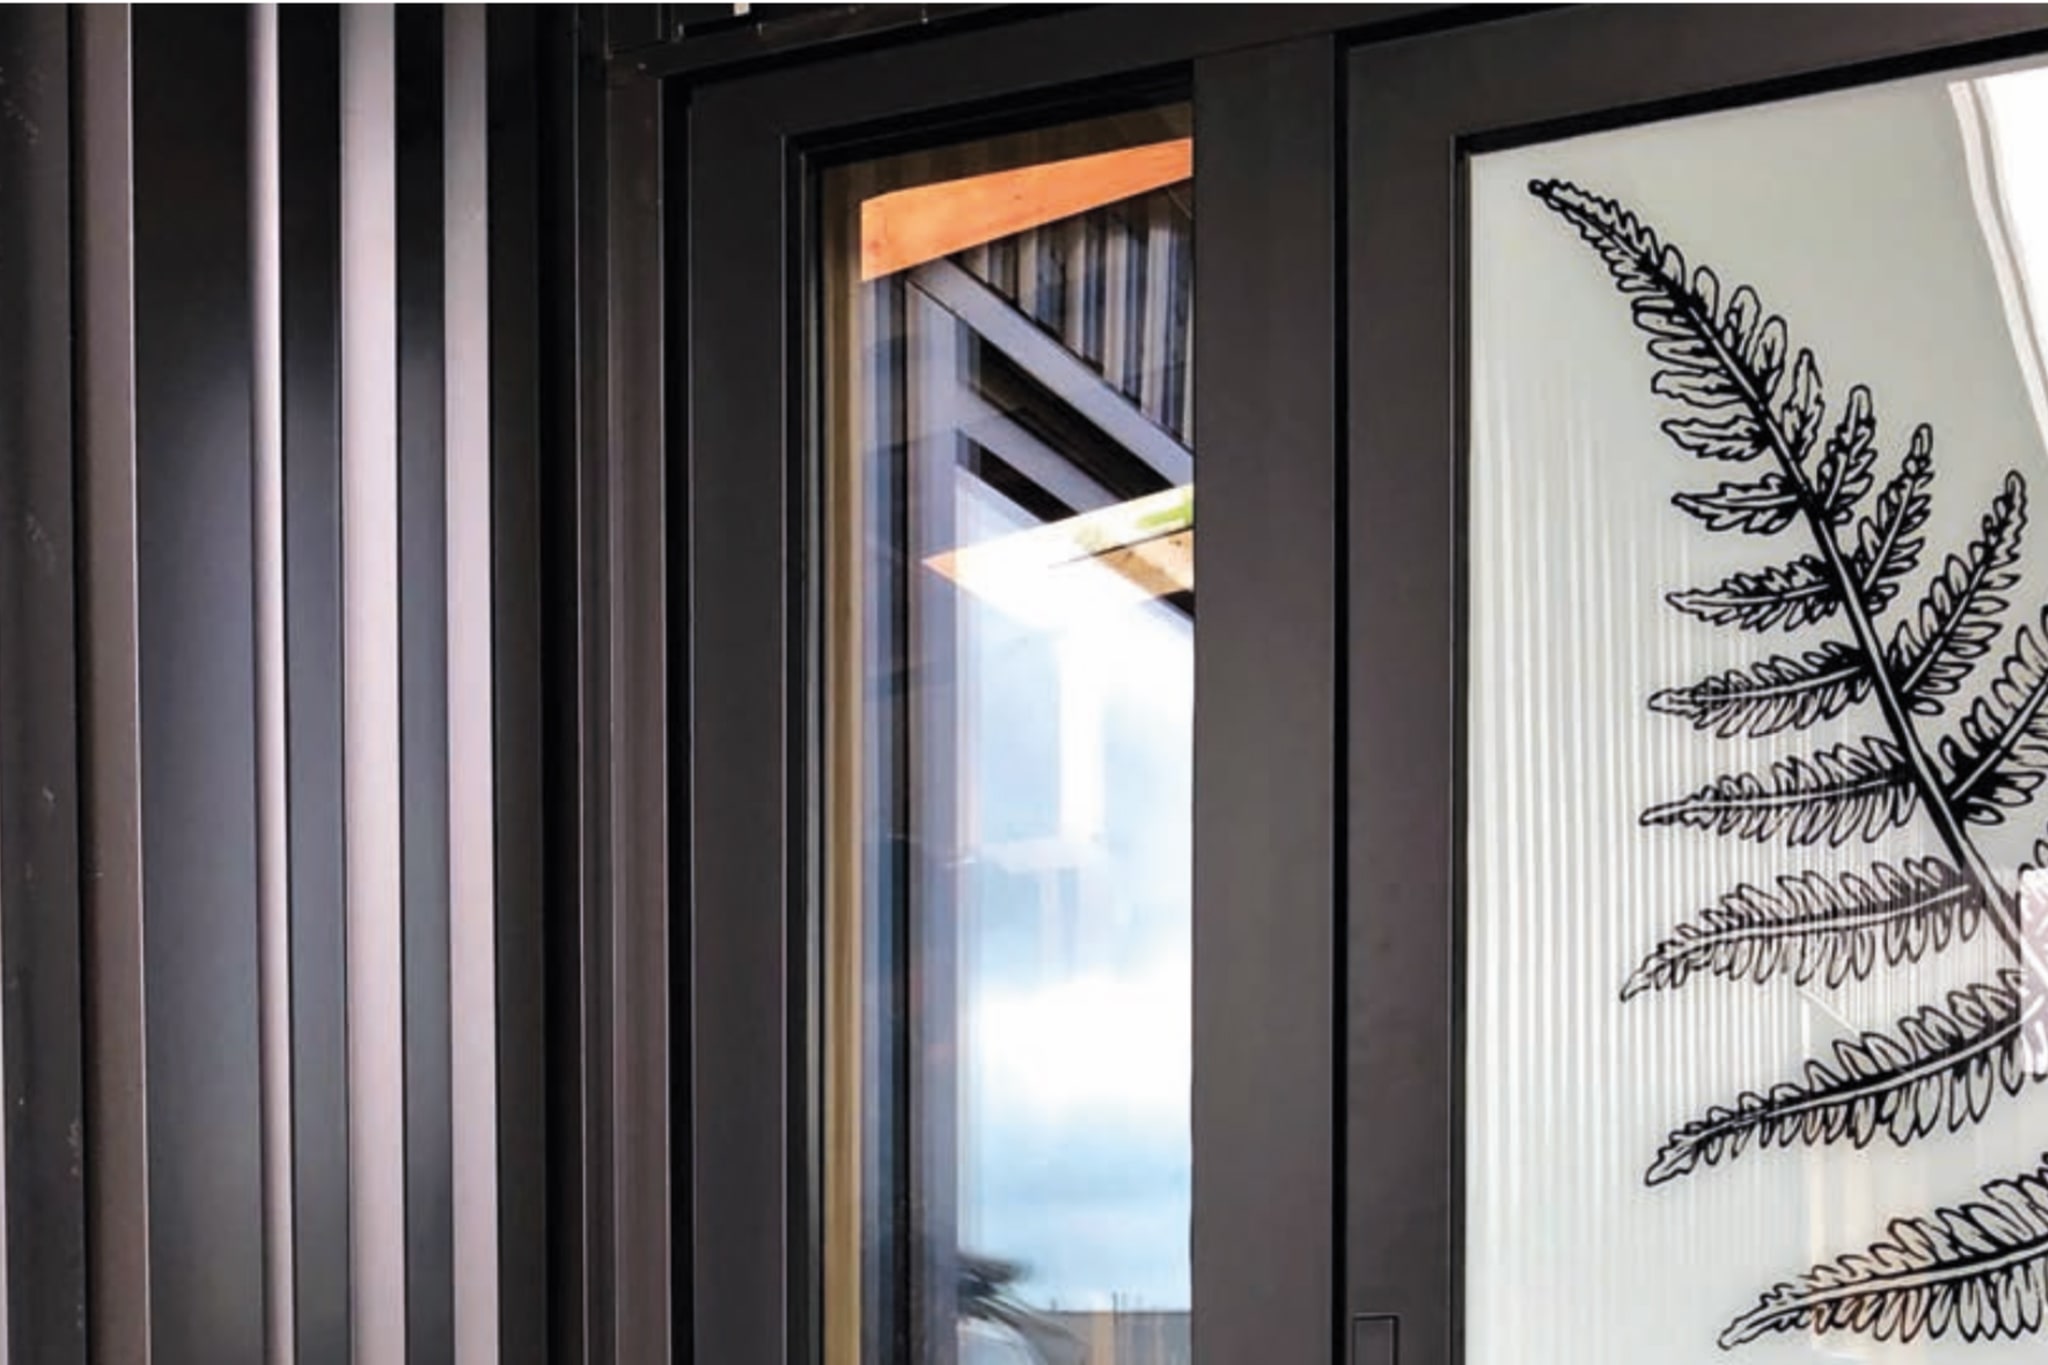
02 – All exterior windows and doors within the thermal envelope are triple glazed uPVC framed. The performance of timber is even better but cost is currently a factor.
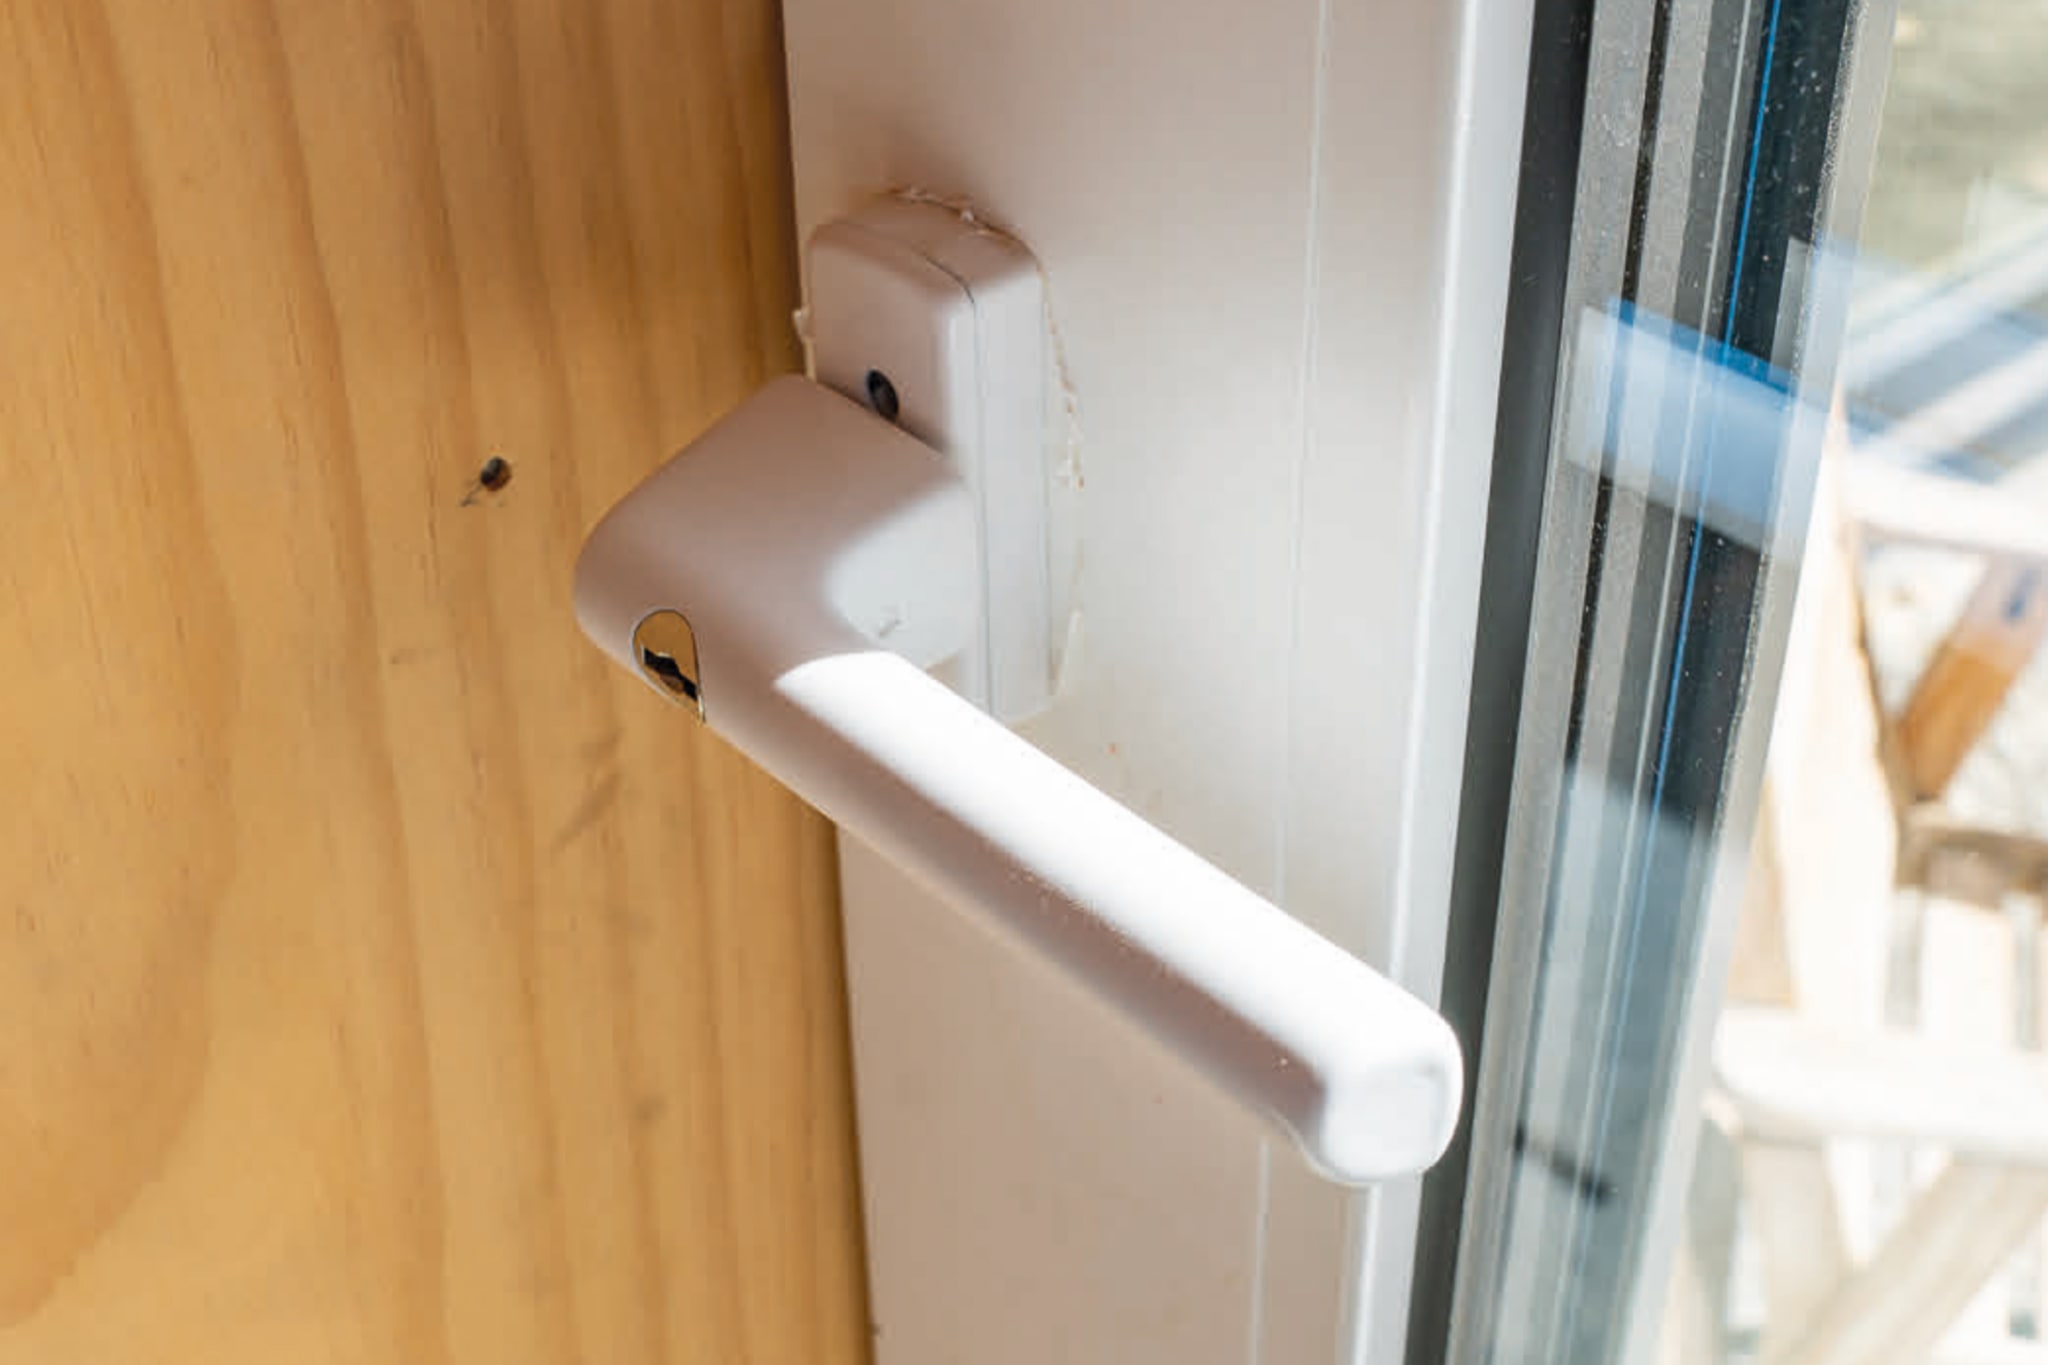
03 – The uPVC frames also contain particular seals to improve their air tightness. Hung doors and windows have much better air tight seals than sliders.
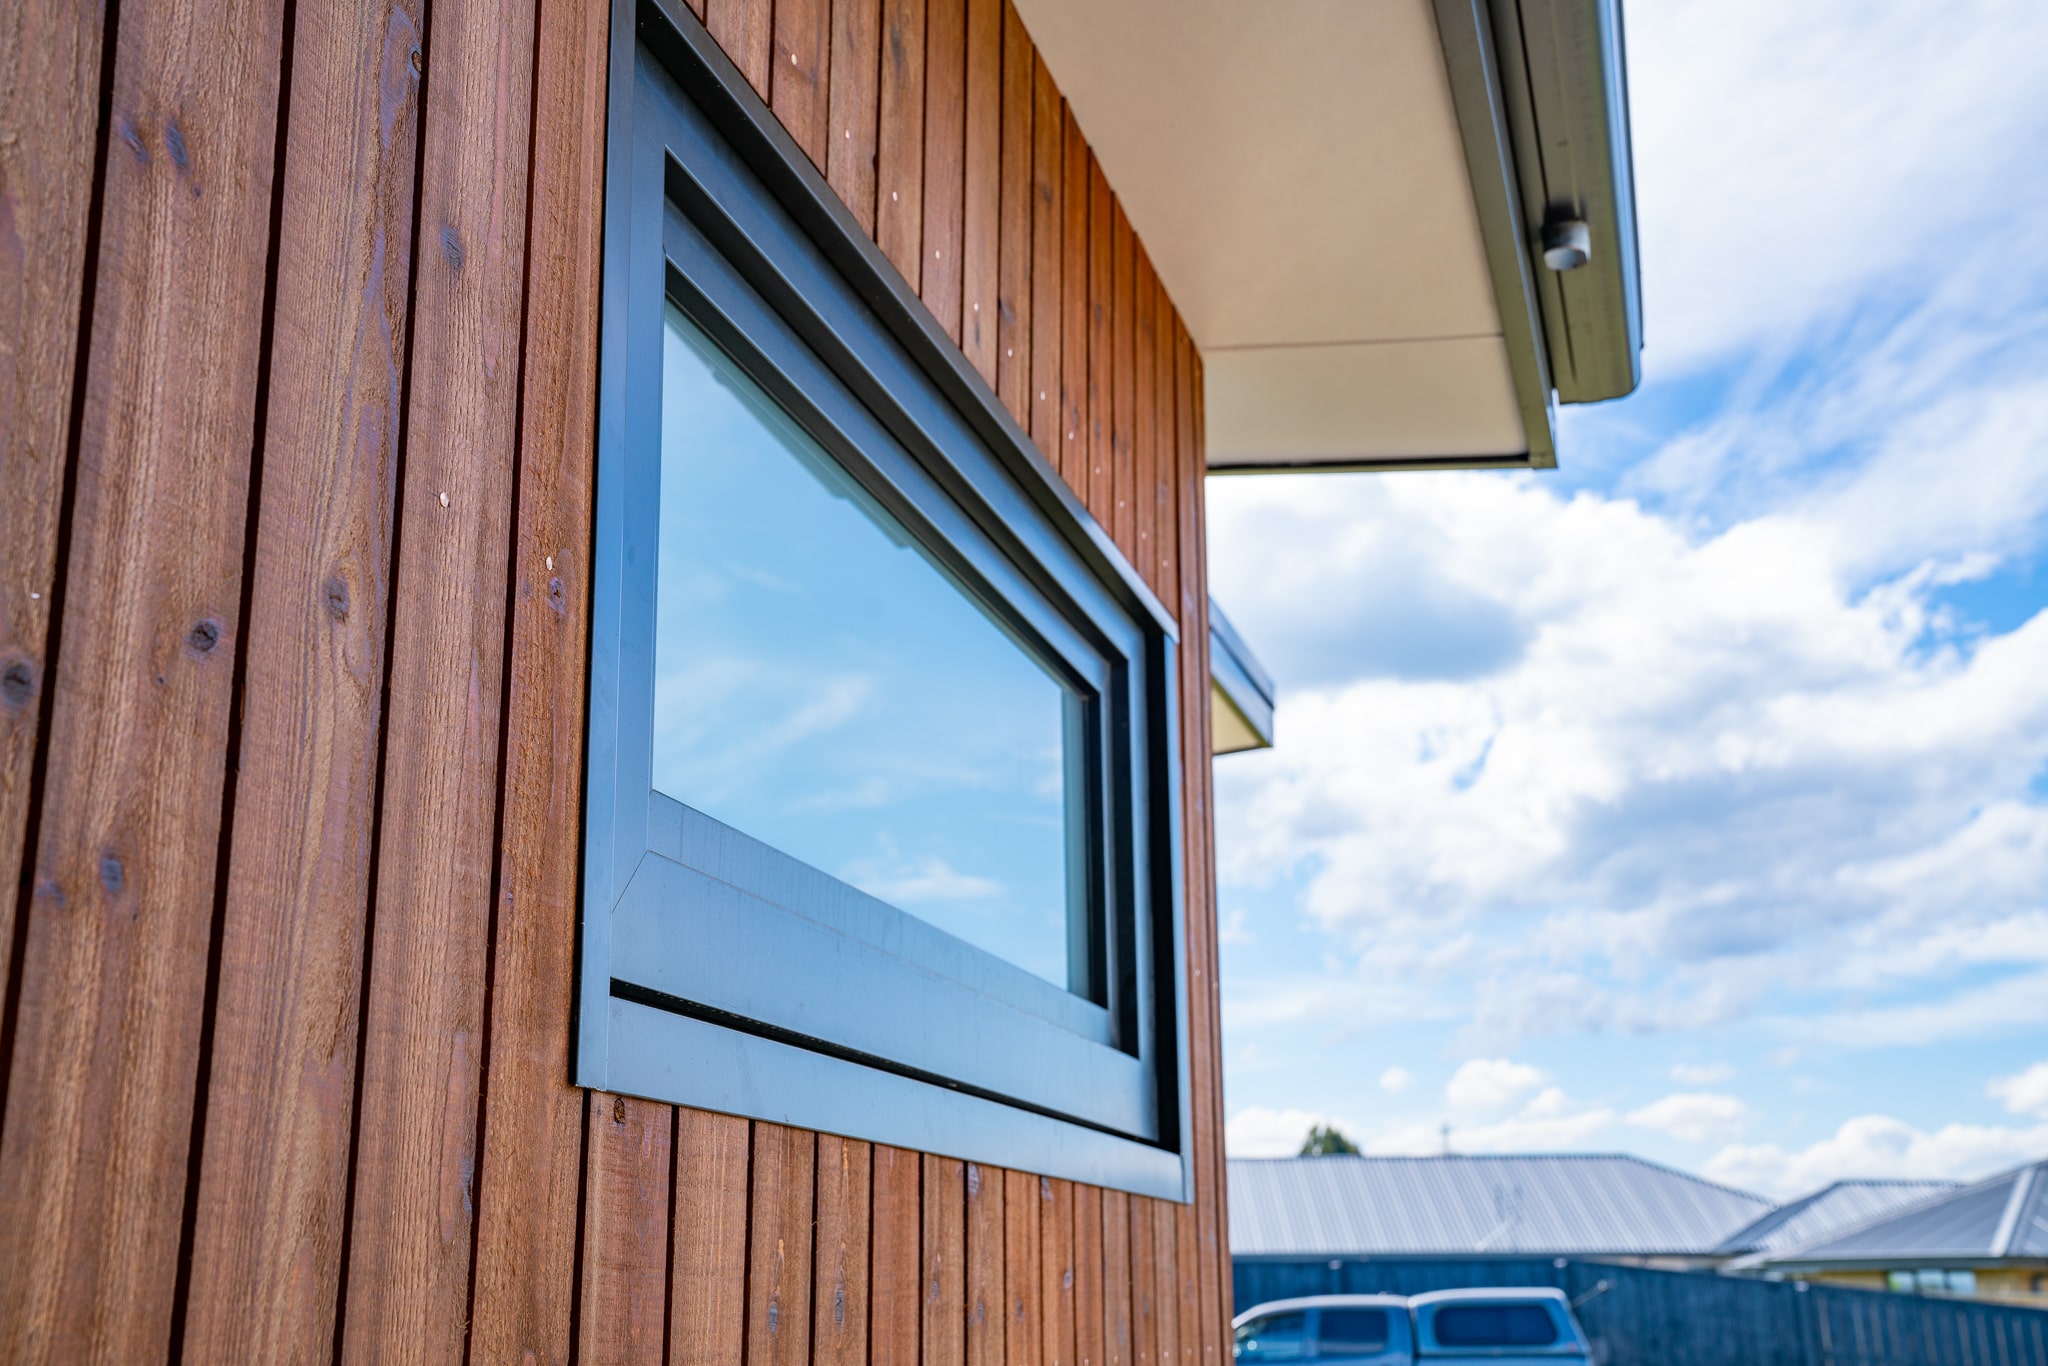
04 – Triple glazing will provide much better insulating performance in the South Island. The glazing is also argon filled and Low E.
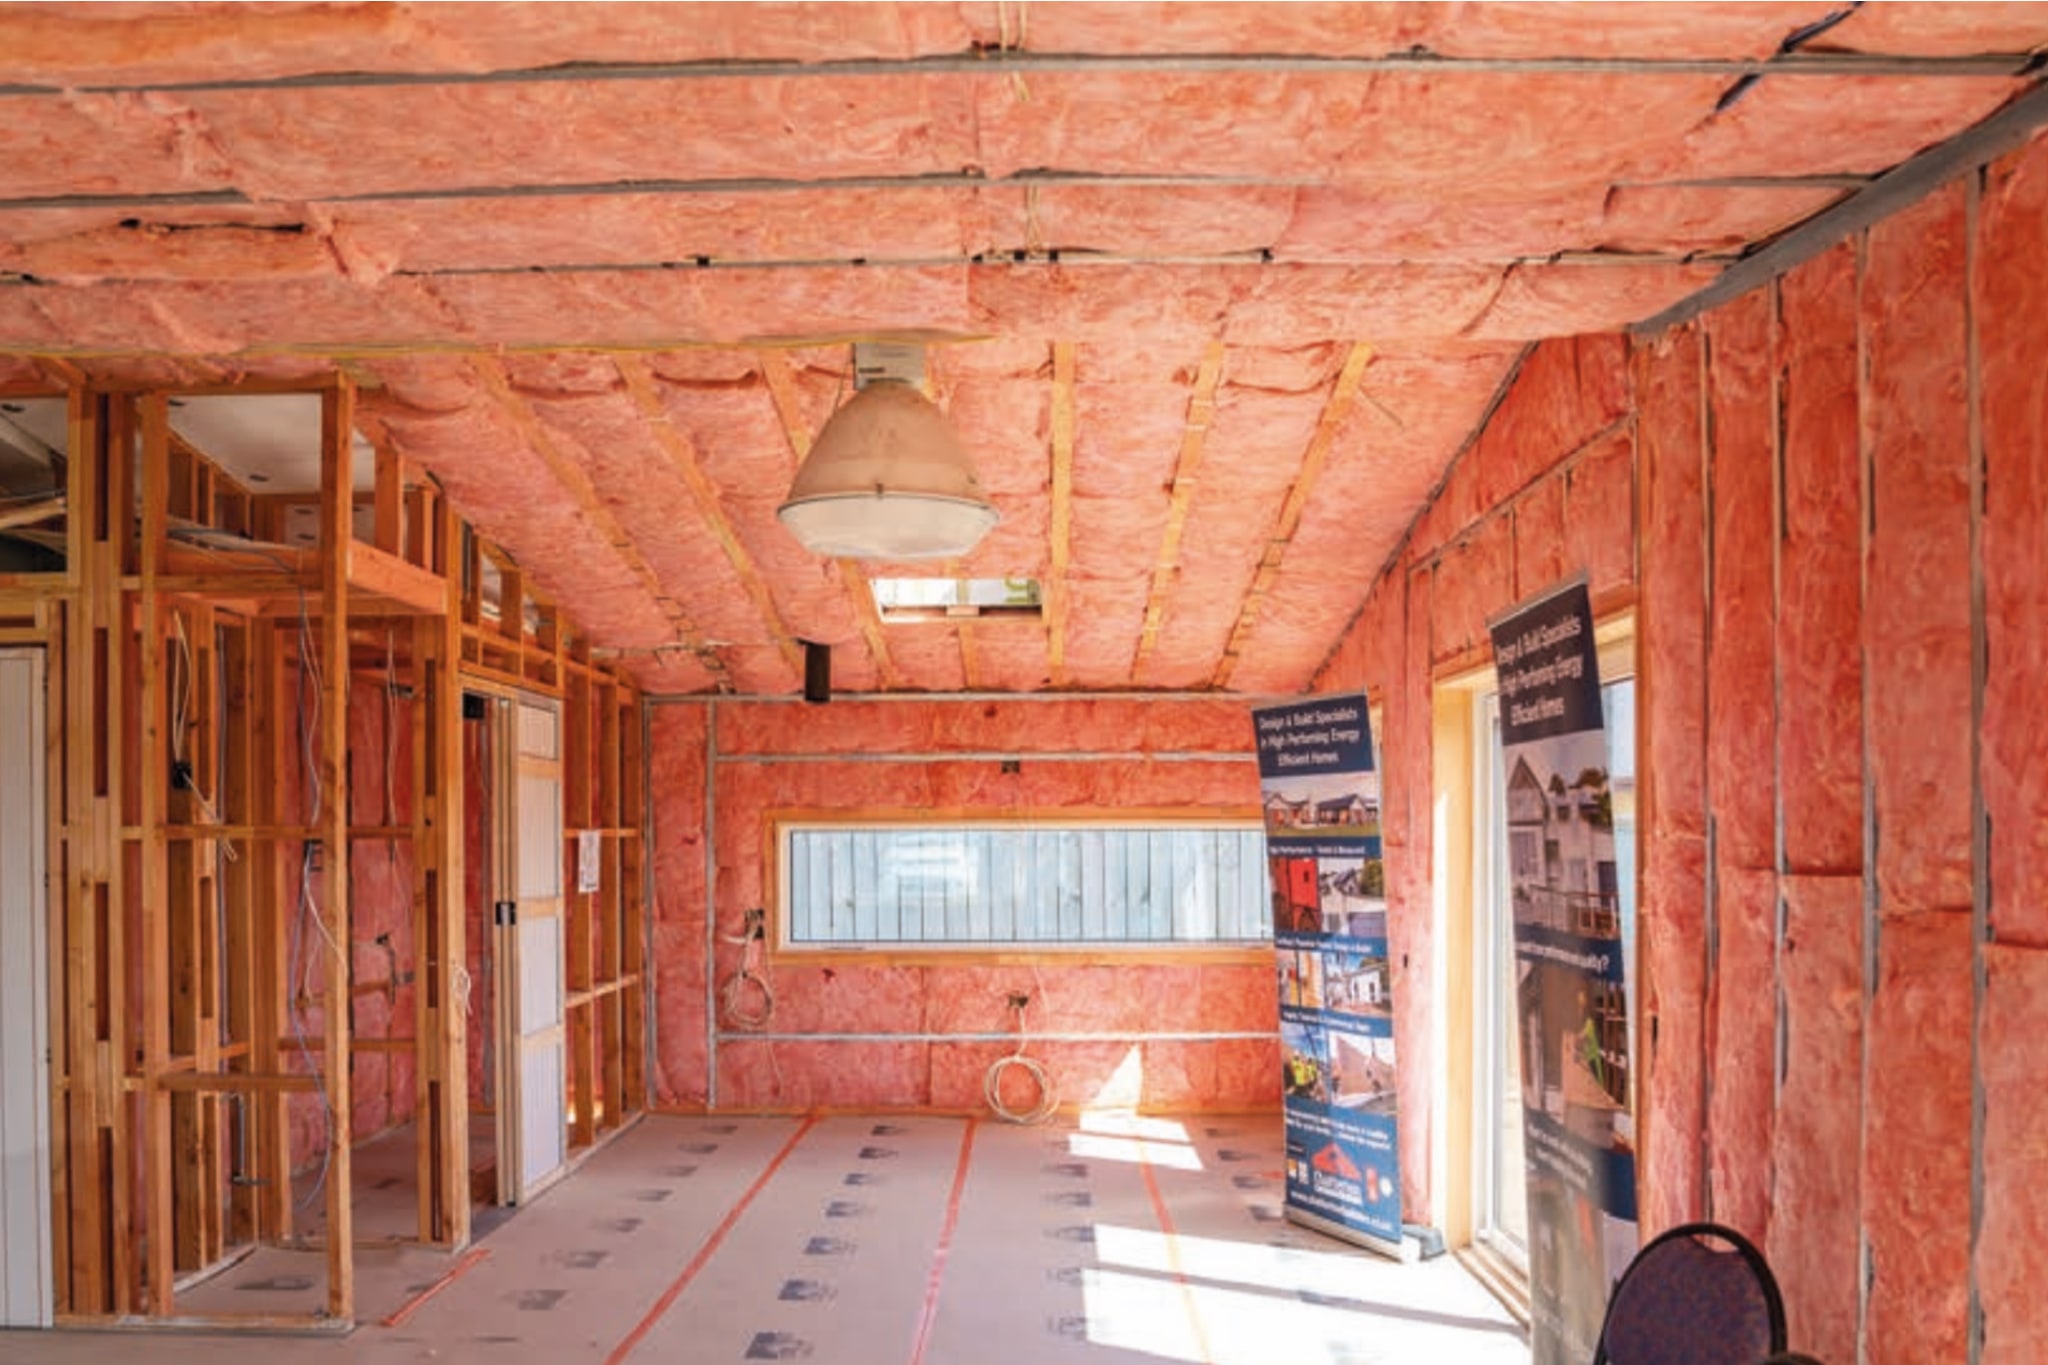
01 – Where the timber splines between the SIPs panels are located a thermal bridge is created. Additional Batts insulation within the service cavity reduces heat transfer
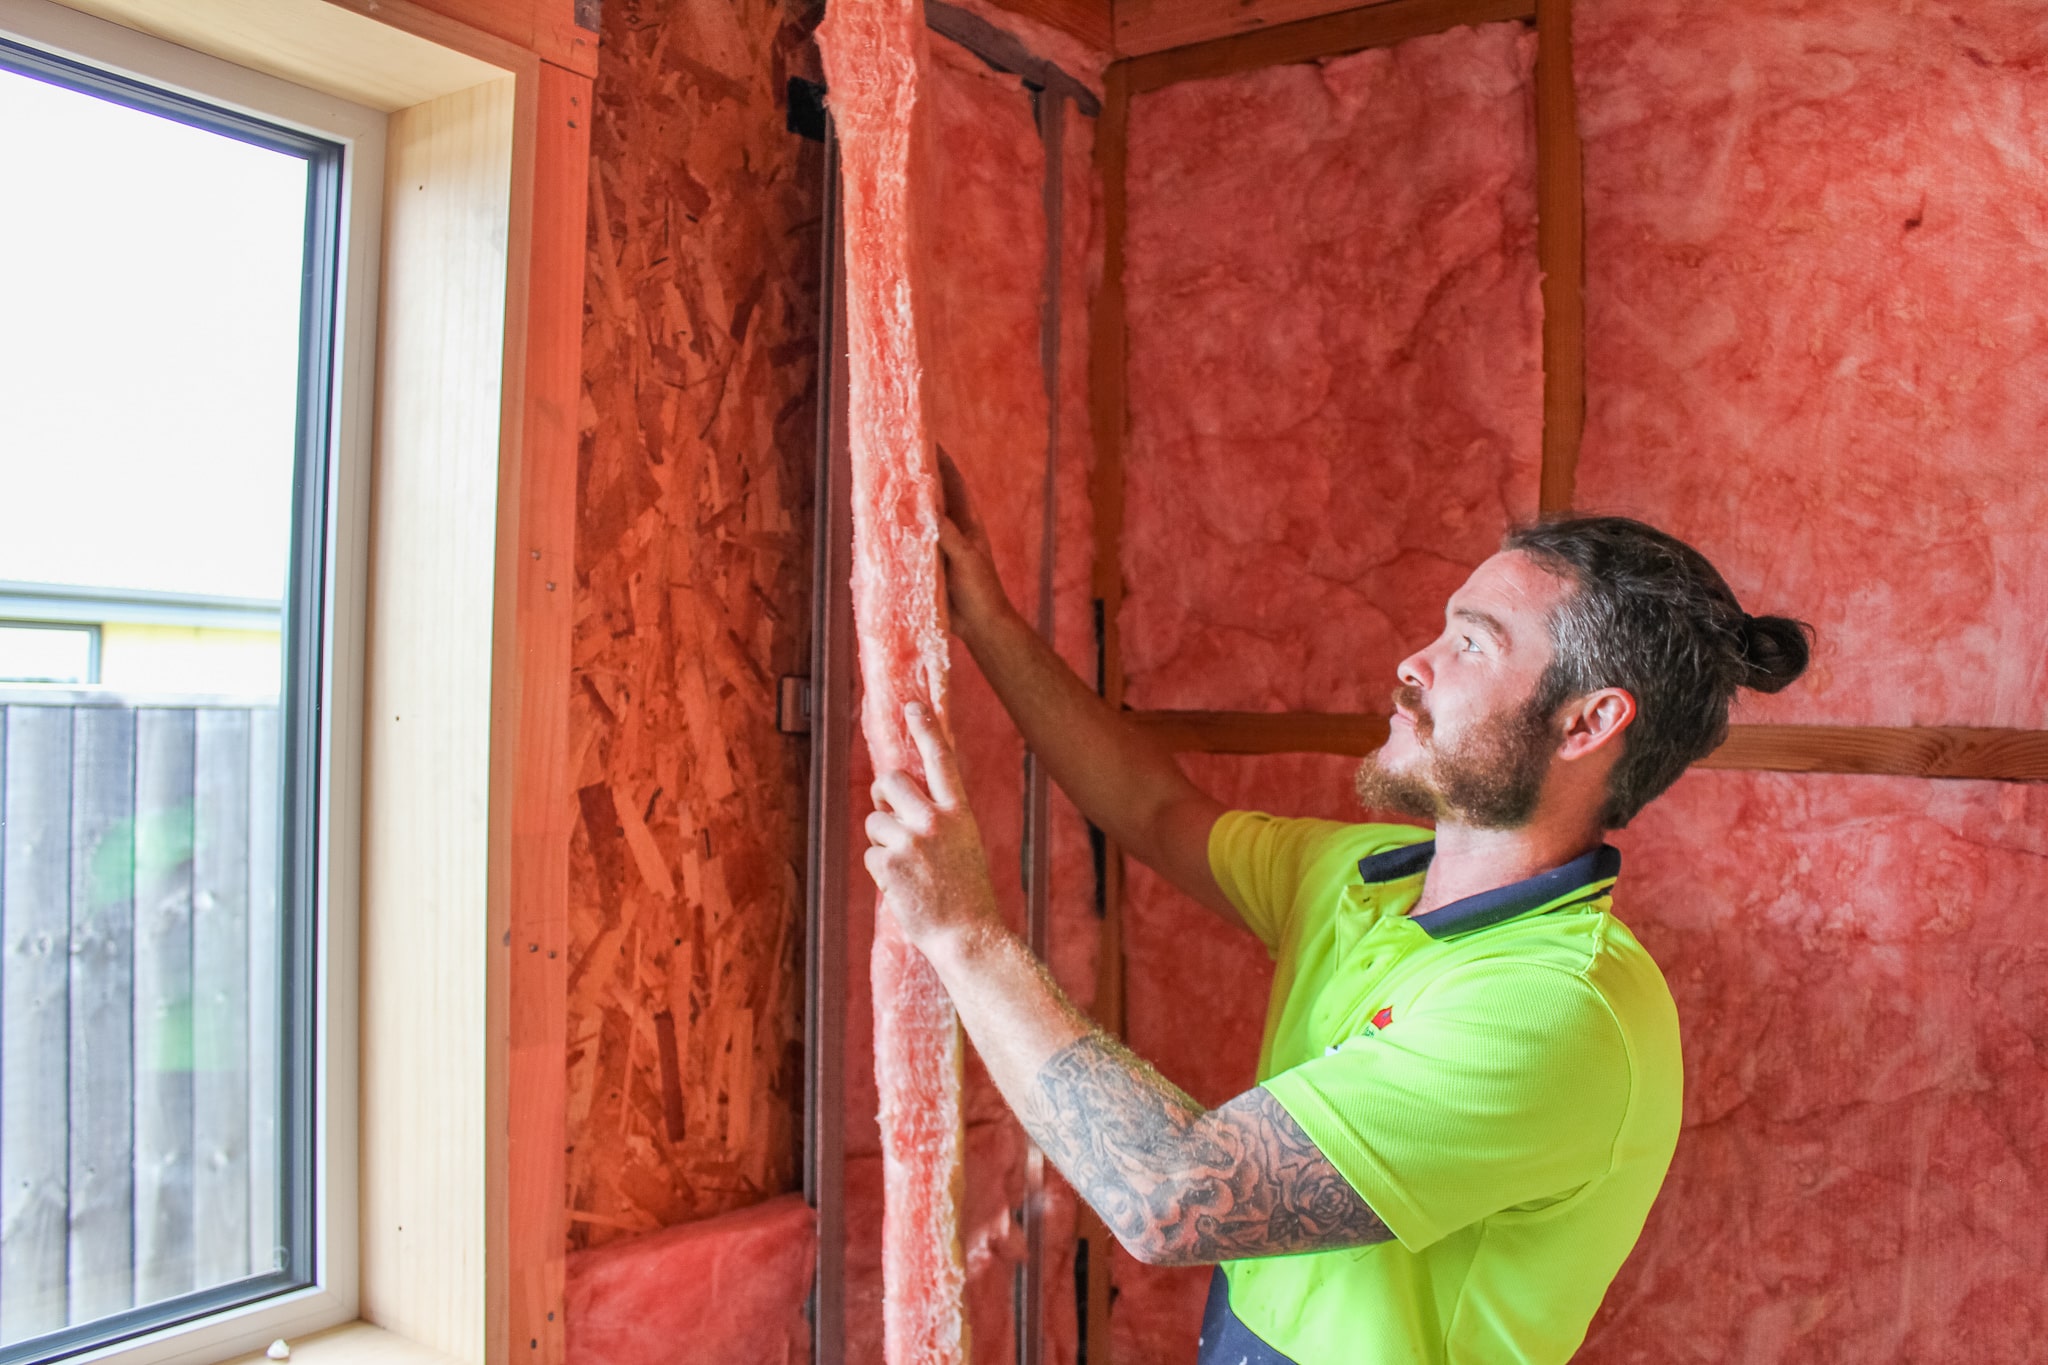
02 – Batts insulation has been installed throughout the wall & ceiling cavities to reduce the impact of thermal bridging across the timber splines.
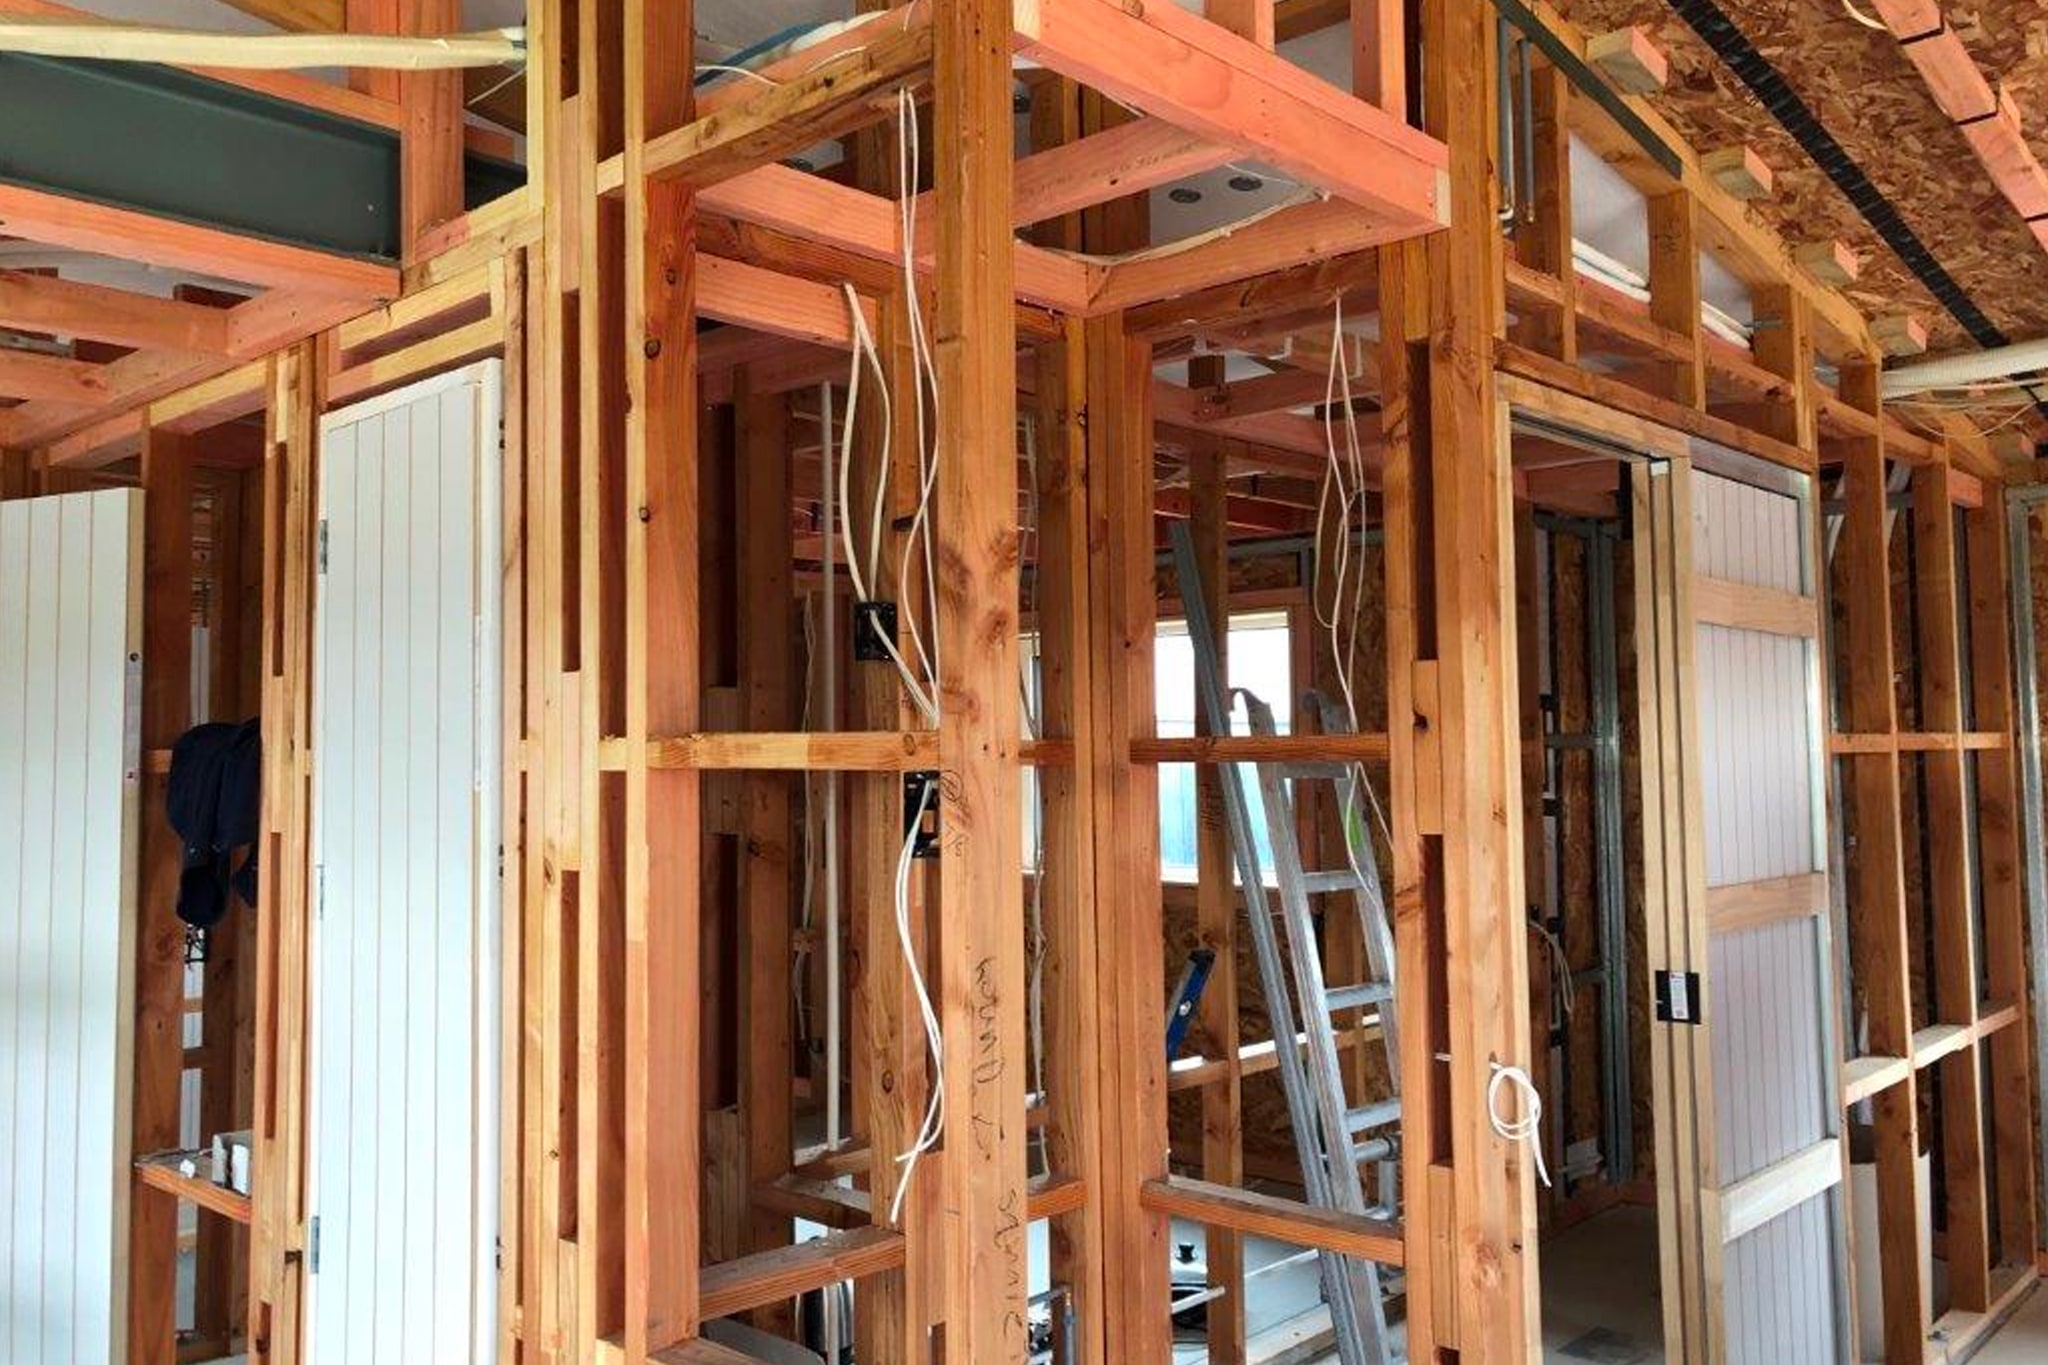
03 – A couple of steel beams are present but they are within the building envelope, therefore there is no thermal highway between the indoors and outdoors.
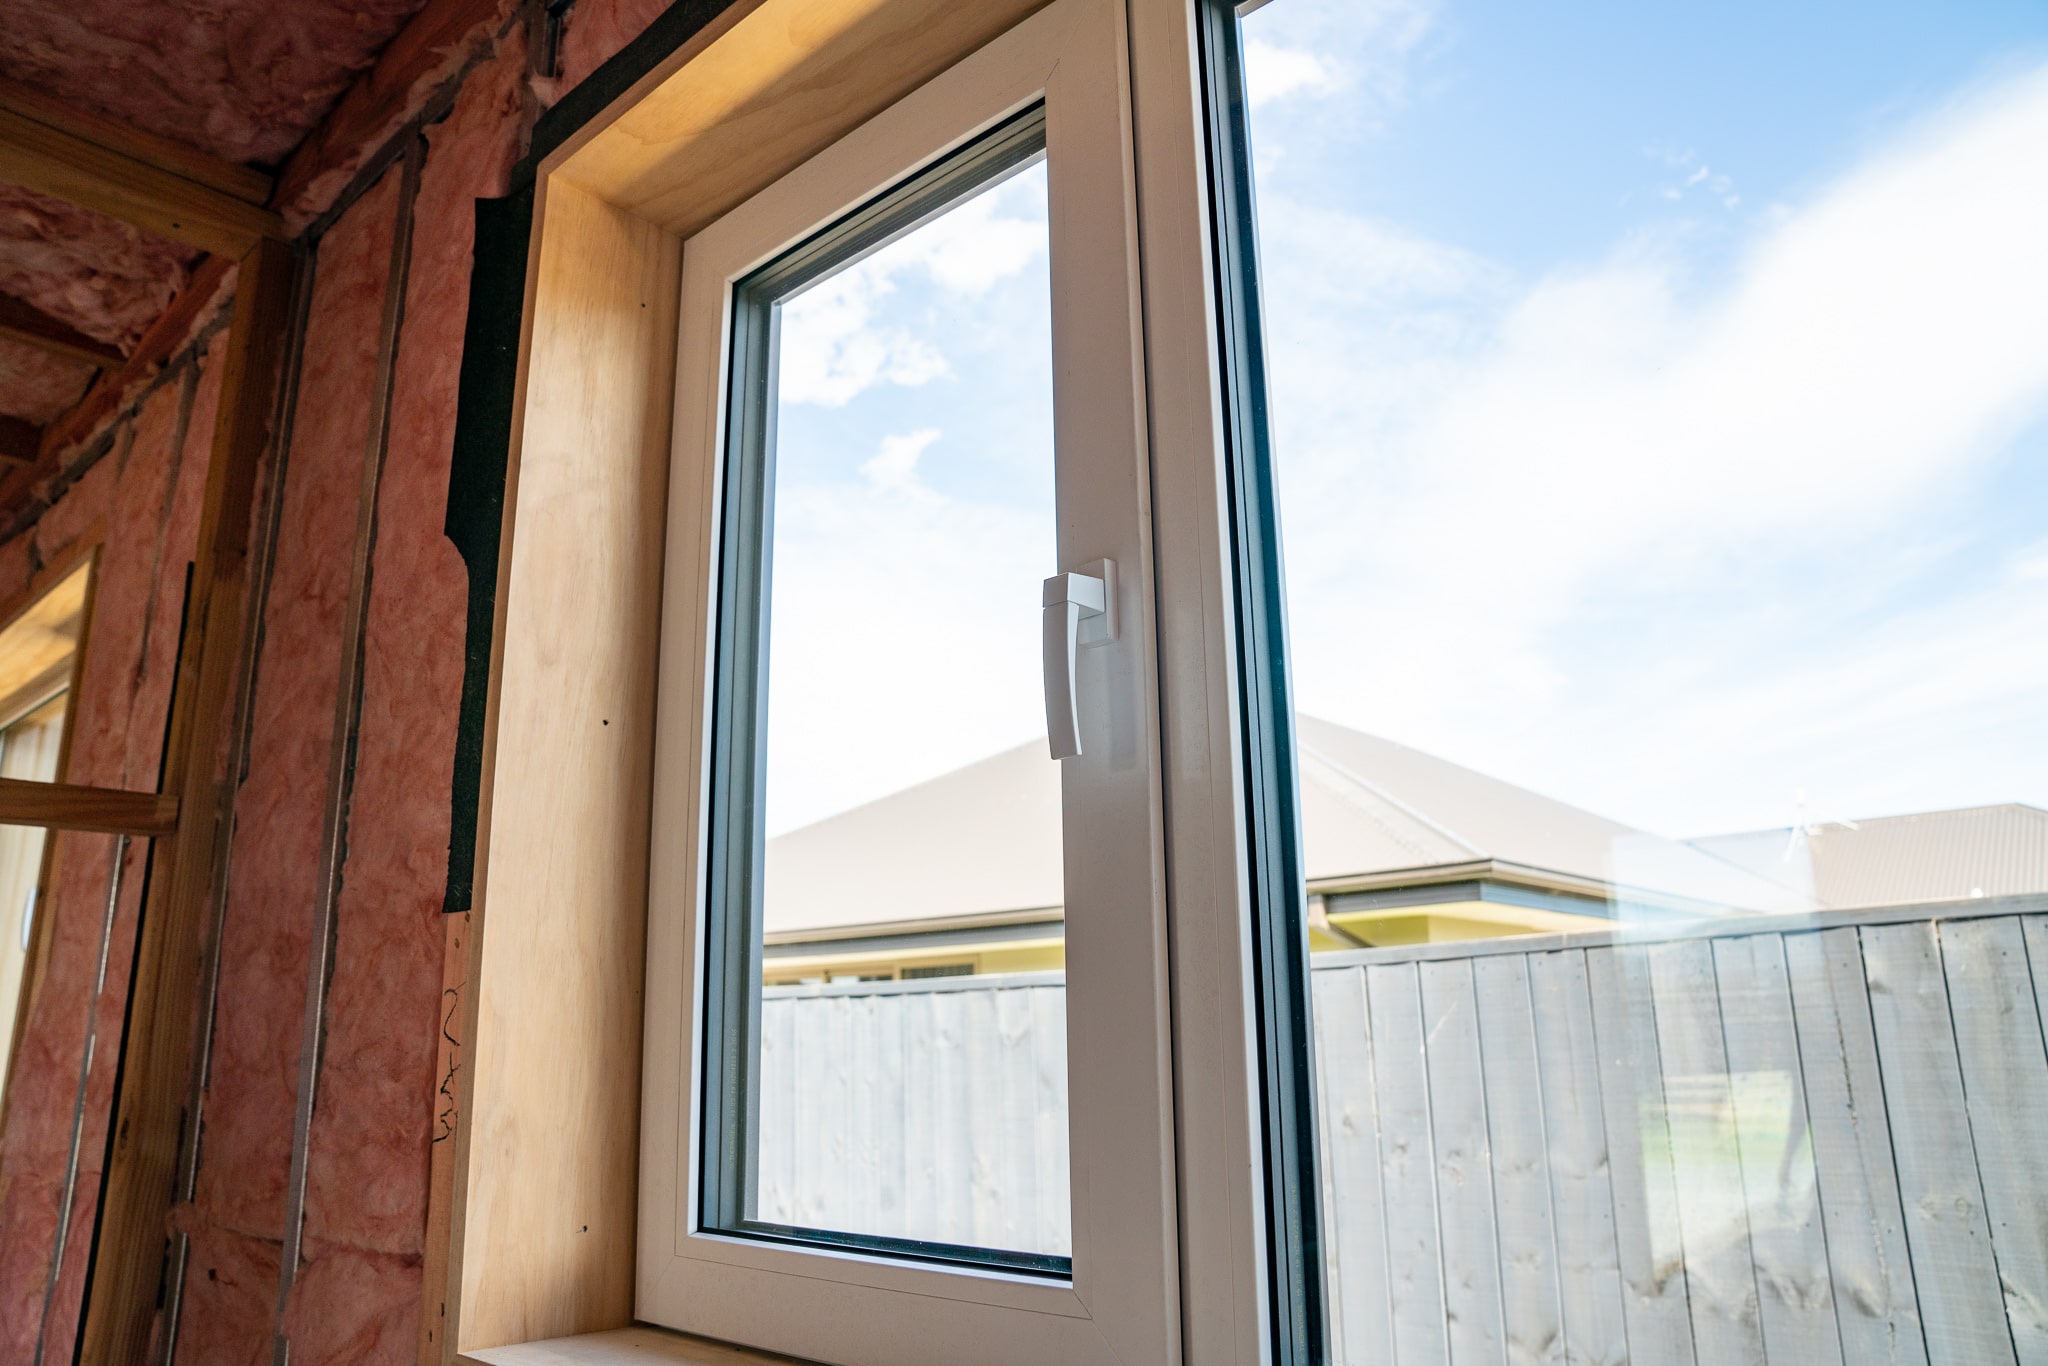
04 – Windows are important as they affect thermal bridging. Aluminium is a great thermal conductor so we use uPVC and timber frames to minimise unwanted transfer of thermal energy.


